


Low-cost product photography is not about making photos look cheap. It is about spending money where it actually changes the image: light, stability, a clean background, and a repeatable workflow. A phone, a window, a piece of foam board, and a clear process can get you surprisingly close to a studio result.
The trick is knowing what to DIY, what to fix with AI, and what not to fake. This guide is built for small ecommerce sellers who need product photos that look clean enough for Shopify, Etsy, Amazon-style marketplaces, TikTok Shop, and Google Shopping without paying for a full commercial shoot every time a new SKU arrives.
What budget level do you actually need?
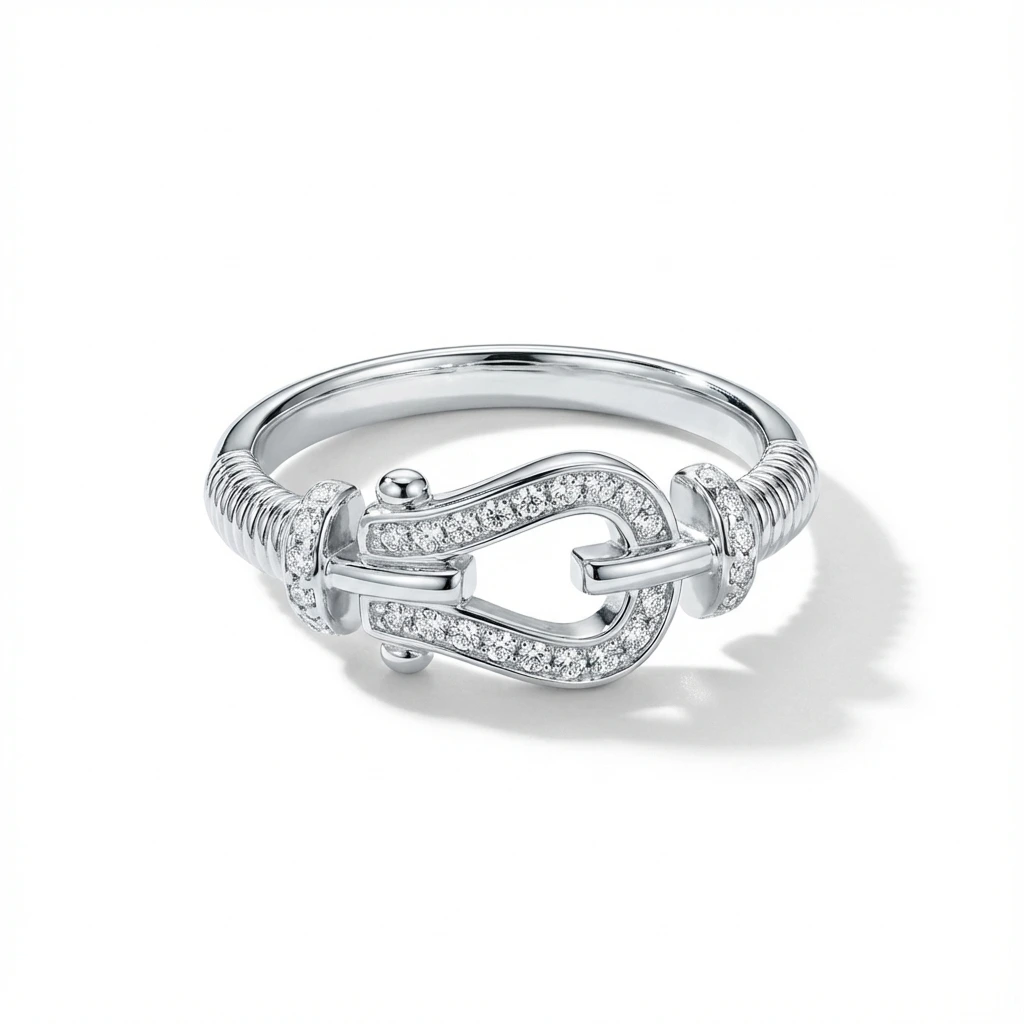
You can start for almost nothing, but different products need different setups. A candle, a bottle, a dress, and a reflective piece of jewelry do not all ask for the same gear.
| Budget | Setup | Best for | Trade-off |
|---|---|---|---|
| $0-$20 | Window light, white poster board, phone, books as risers | Small products, handmade goods, first listings | Depends on weather and time of day |
| $30-$80 | Foam boards, clamp light or LED panel, tripod, simple backdrop | Repeatable Shopify or Etsy catalog photos | Needs a little practice to control reflections |
| $100-$200 | Two small LED panels, tripod, backdrop stand or light tent | Higher SKU volume and night shooting | Still needs styling and quality checks |
| AI-assisted | Phone photo plus background cleanup, white background, crop, shadow | Fast marketplace-ready images and catalog consistency | Source photo still has to show the real product clearly |
The kitchen-table studio that works
The cheapest reliable studio is a table near a large window. Put the product on the table, place the window to one side, and use a white foam board on the opposite side to bounce light back into the shadows.
Avoid direct sunlight. It creates hard shadows, blown-out highlights, and color problems that are difficult to fix later. Bright shade or an overcast day is better because the light is already soft.
- White foam board: place it opposite the window to fill the dark side of the product.
- Poster-board sweep: tape white poster board to the wall and let it curve onto the table for a seamless background.
- Books or boxes: raise the product until the camera can see it at a natural angle.
- Microfiber cloth: wipe the product and camera lens before every batch.
Phone camera settings that matter
A phone is good enough for many product listings, but it needs a little discipline. Most bad DIY product photos come from blur, fingerprints, mixed lighting, or digital zoom.
- Clean the lens: fingerprints make product photos look hazy and low quality.
- Lock focus and exposure: tap and hold on the product, then adjust brightness before shooting.
- Avoid digital zoom: move the phone closer instead, or crop later from a high-resolution shot.
- Use a tripod or stack of books: stability matters more than the camera brand.
- Turn off heavy filters: keep the product color close to real life.
The minimum shot list for ecommerce
One nice photo is not enough. Buyers need enough visual information to trust the product before they click buy. Start with a small, repeatable shot list.
| Shot | Purpose | Low-cost way to get it |
|---|---|---|
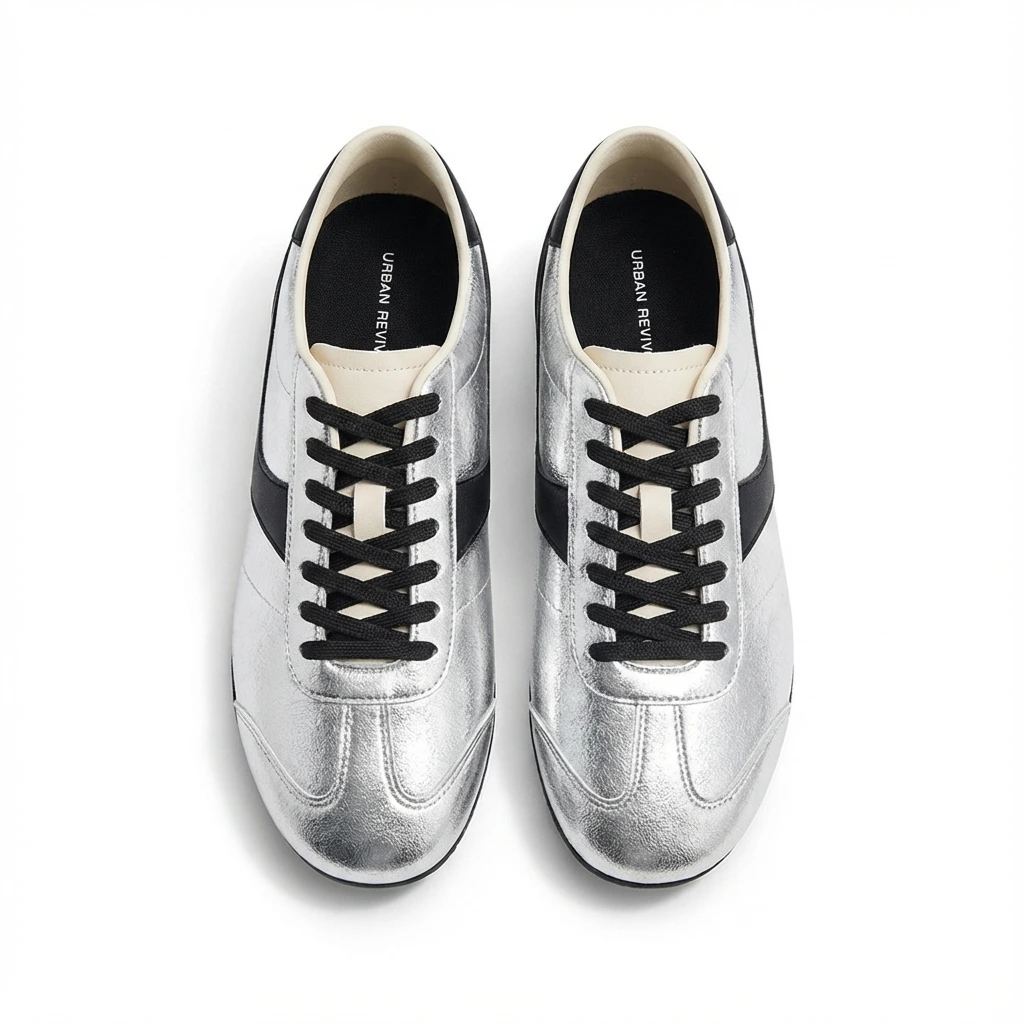
| Main hero | Clean first impression for search, grid, and marketplace main image | White sweep or AI-cleaned white background |
| 45-degree angle | Shows depth and shape | Rotate the product, keep camera height consistent |
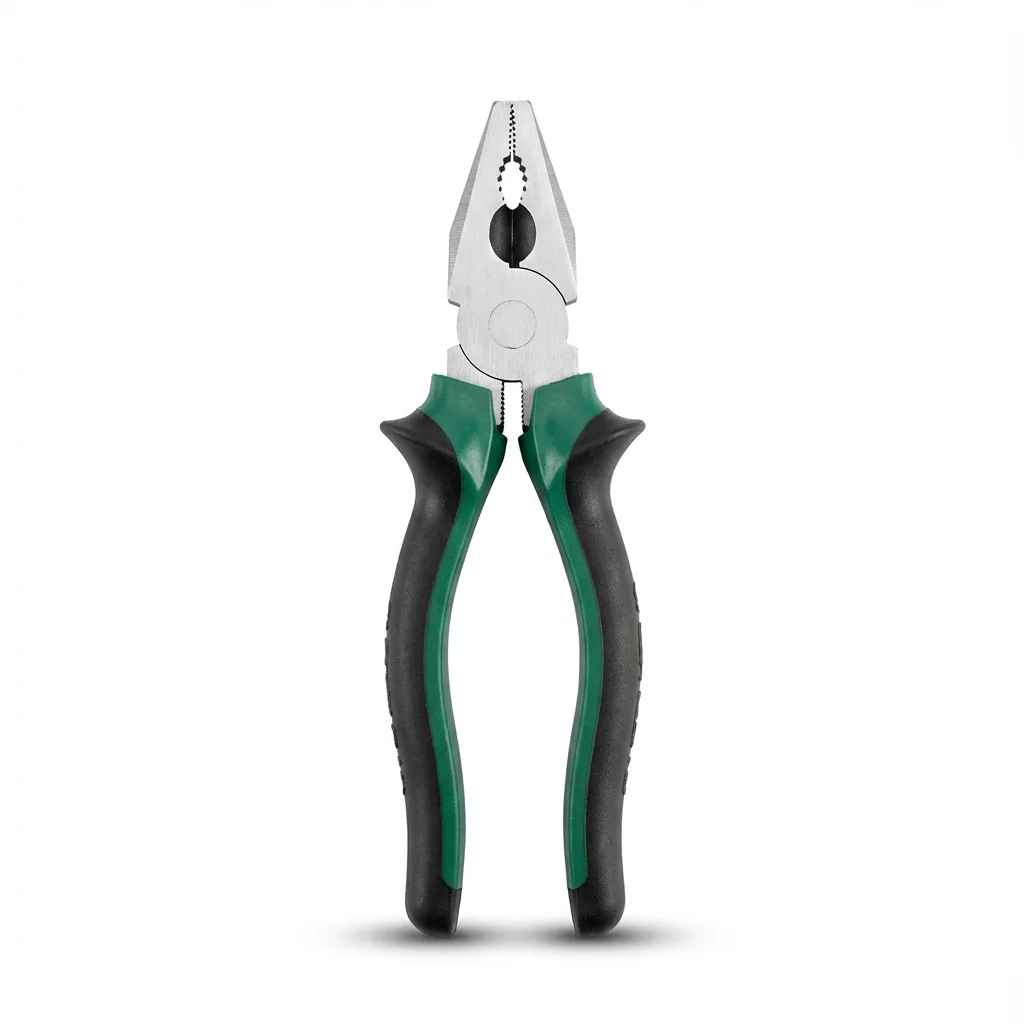
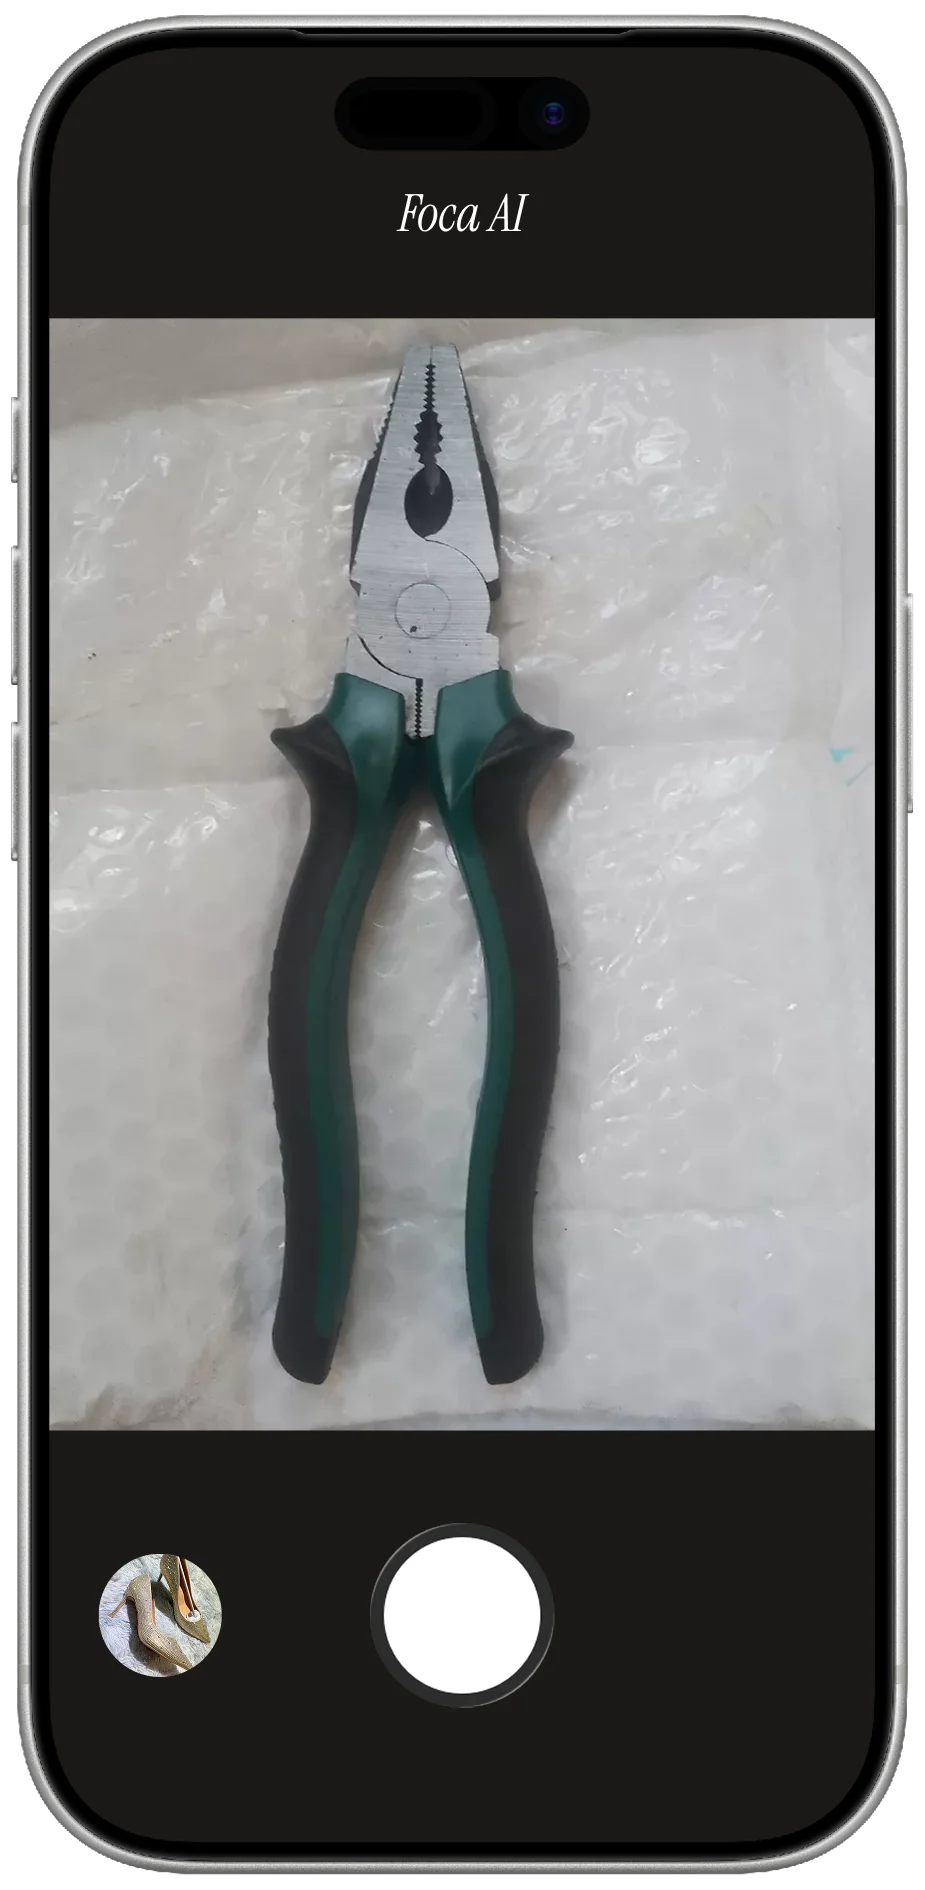
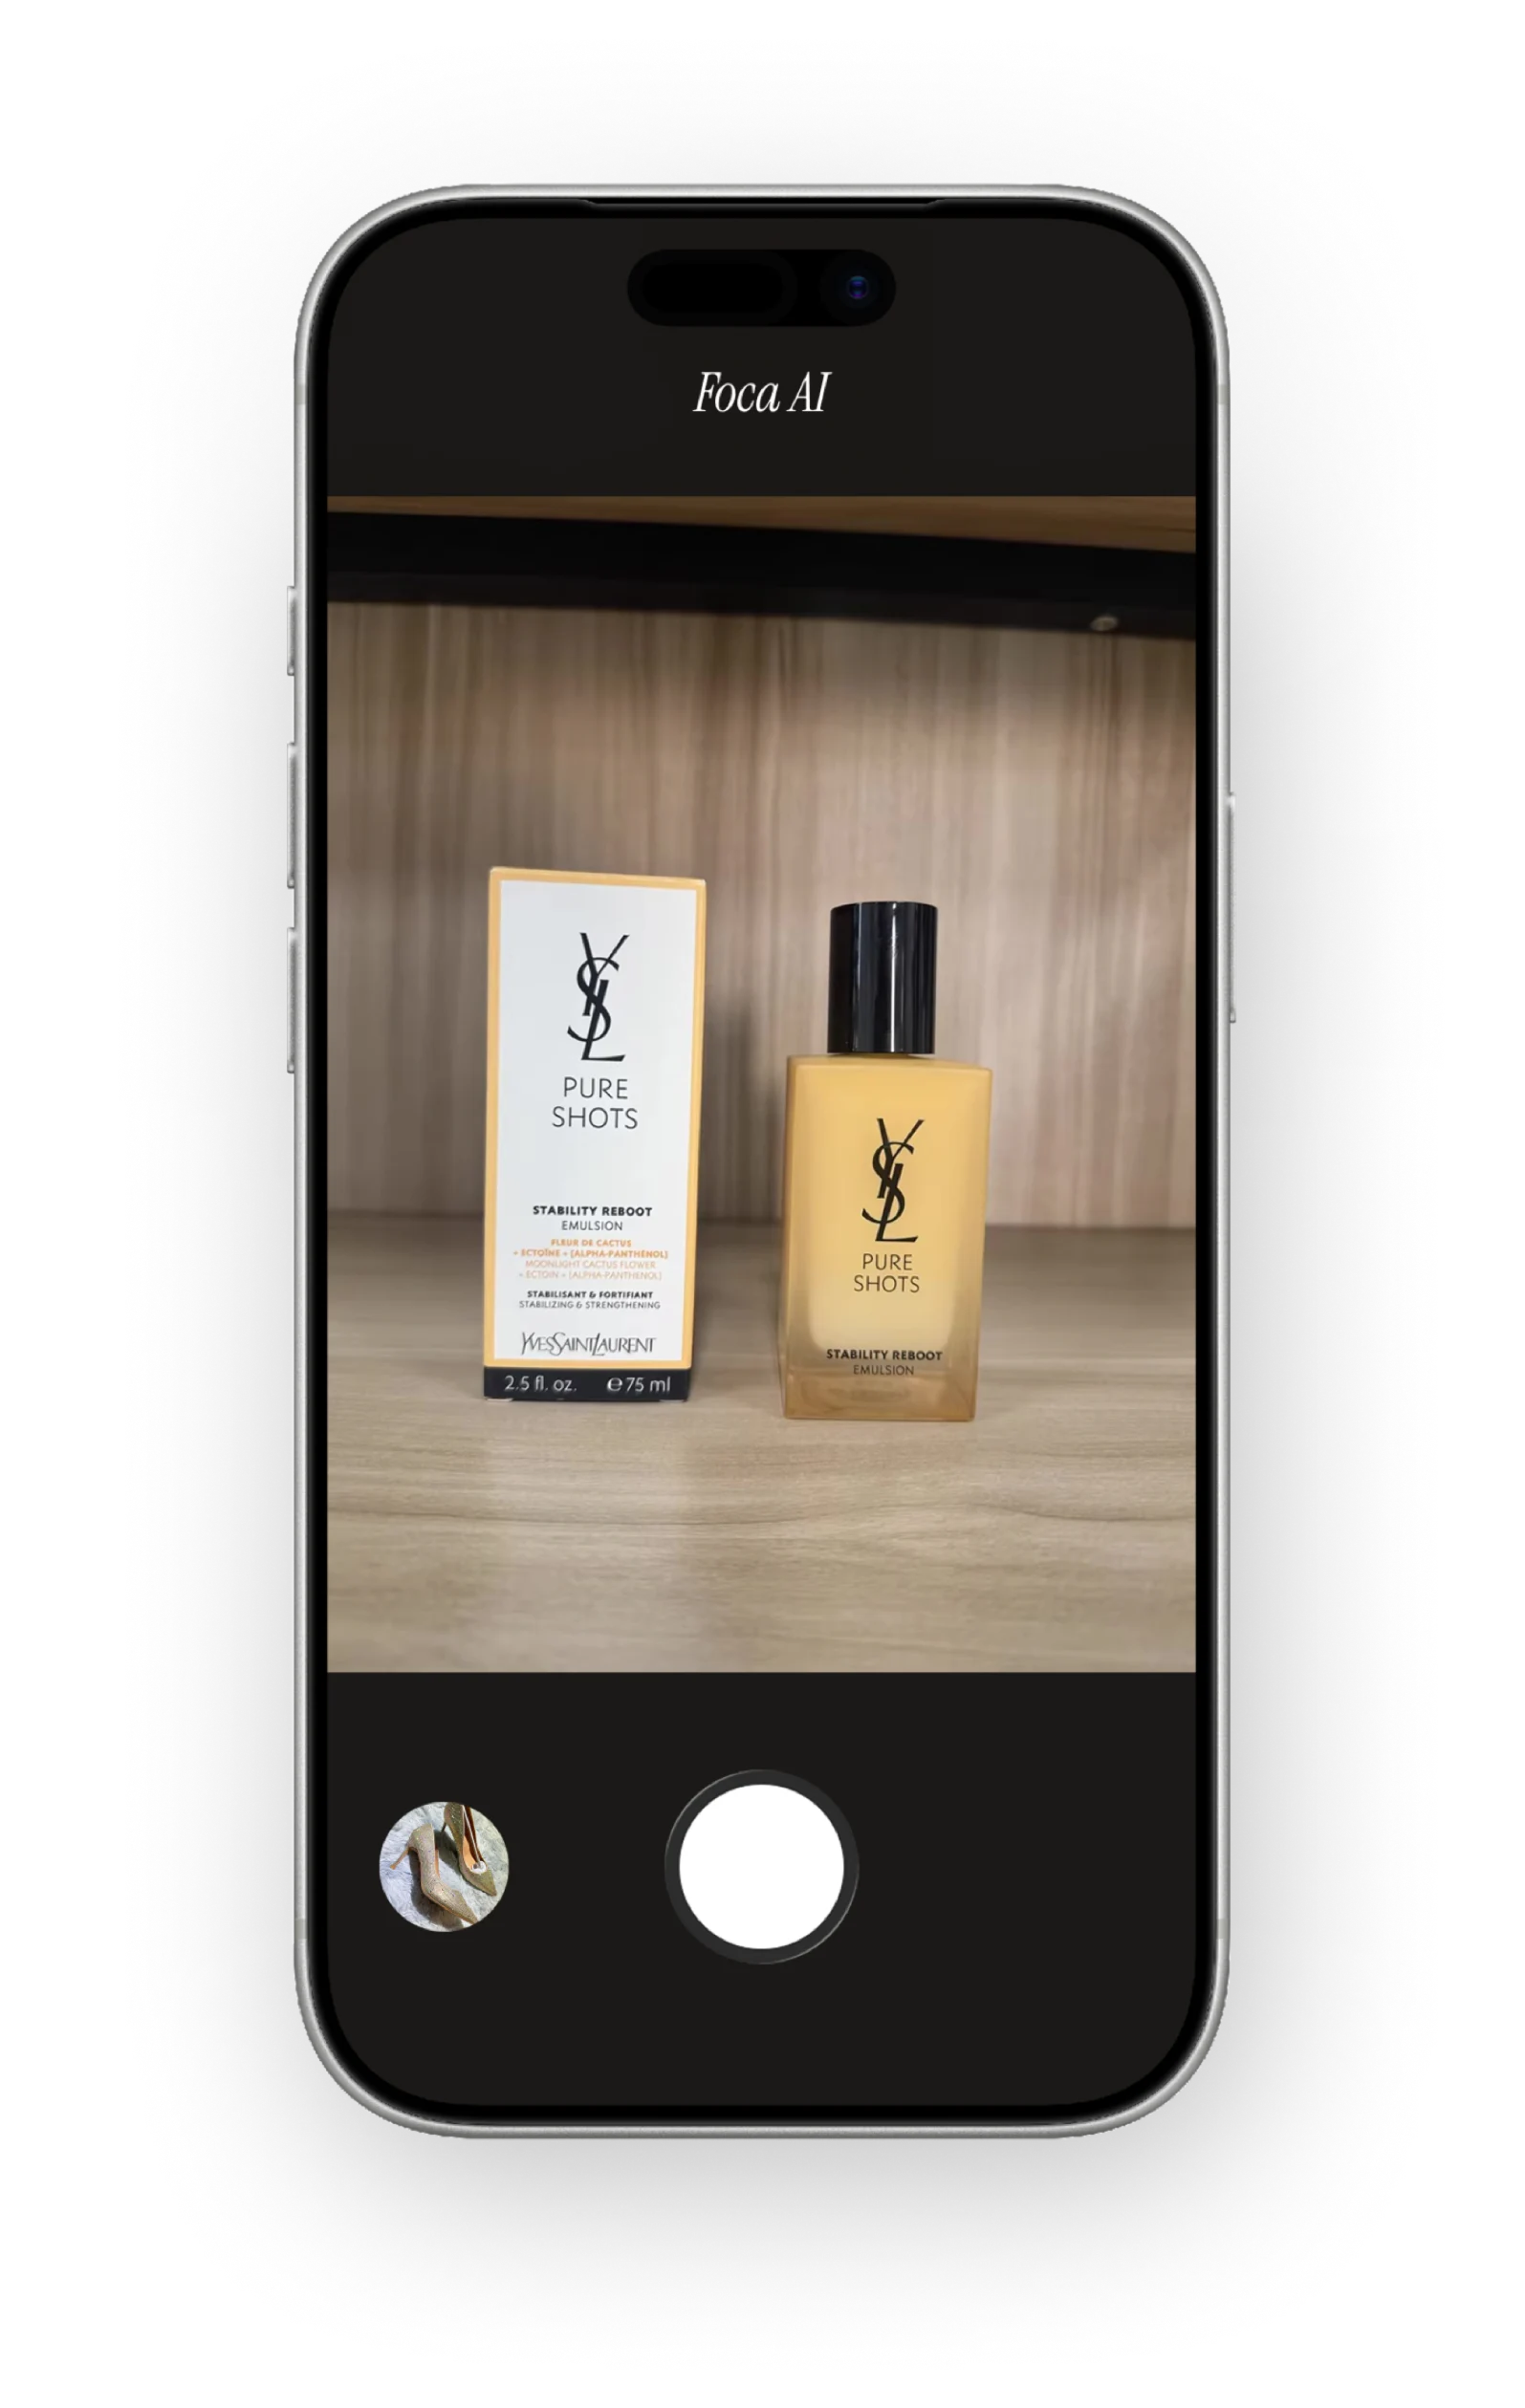
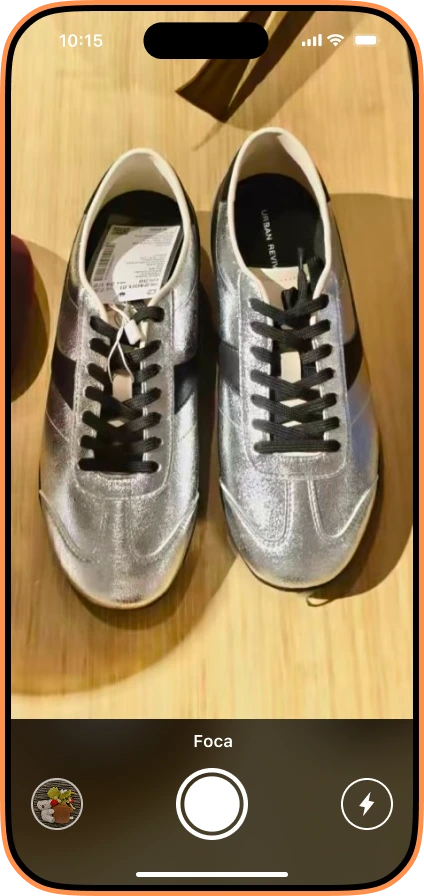
| Detail close-up | Shows texture, label, stitching, ports, ingredients, or finish | Move closer, use soft side light, avoid digital zoom |
| Scale shot | Helps buyers understand size | Use a hand, table object, packaging, or measured flat lay |
| Packaging/accessories | Reduces questions and returns | Lay out exactly what comes in the box |
| In-use or lifestyle | Shows context and use case | Use a clean corner, simple prop, or neutral surface |
Where AI saves the most money
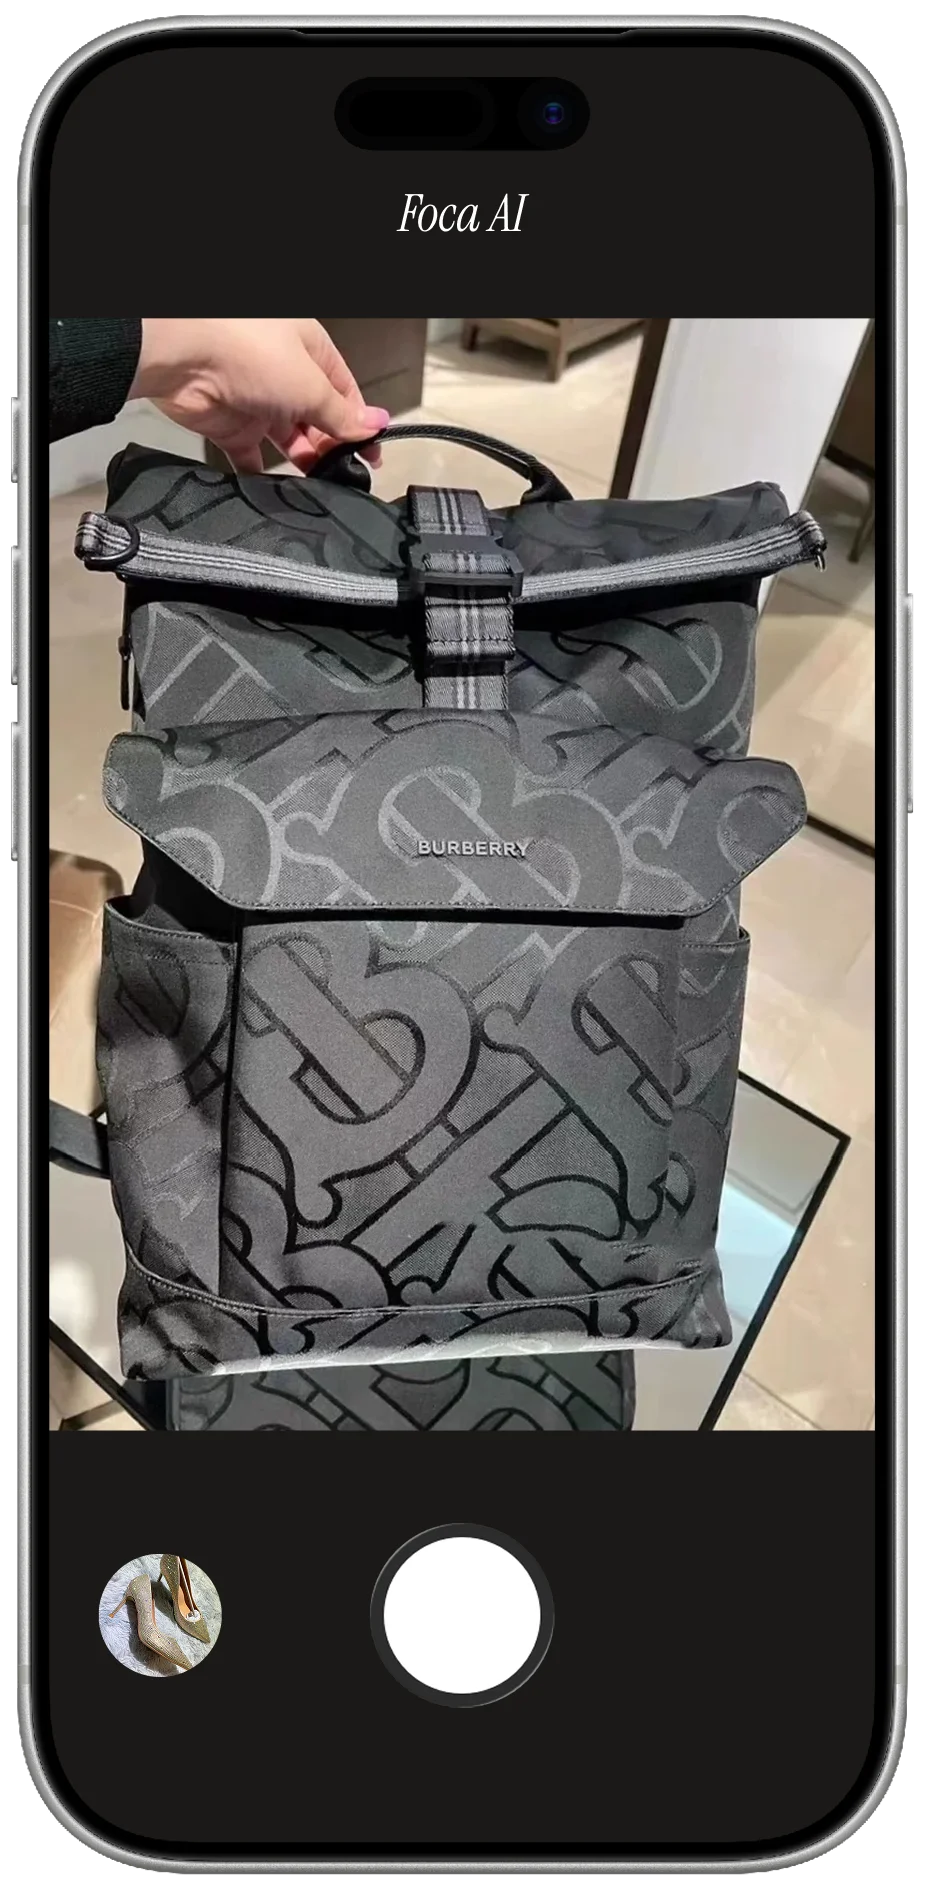
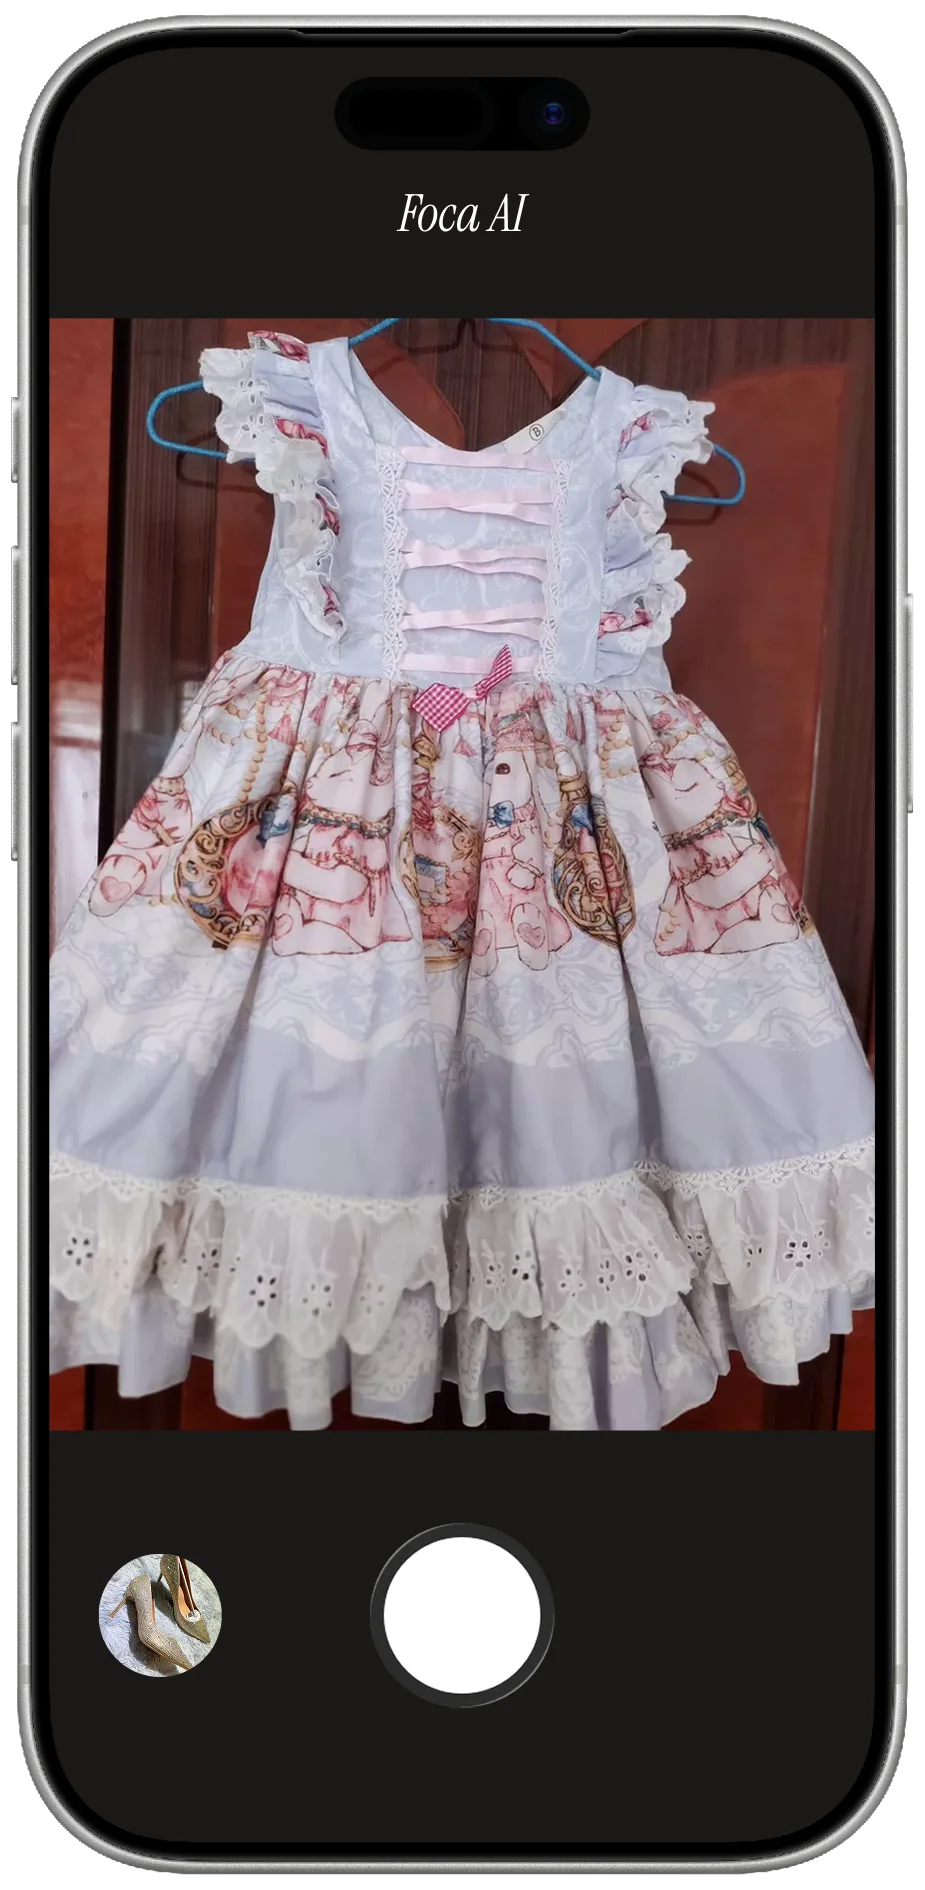
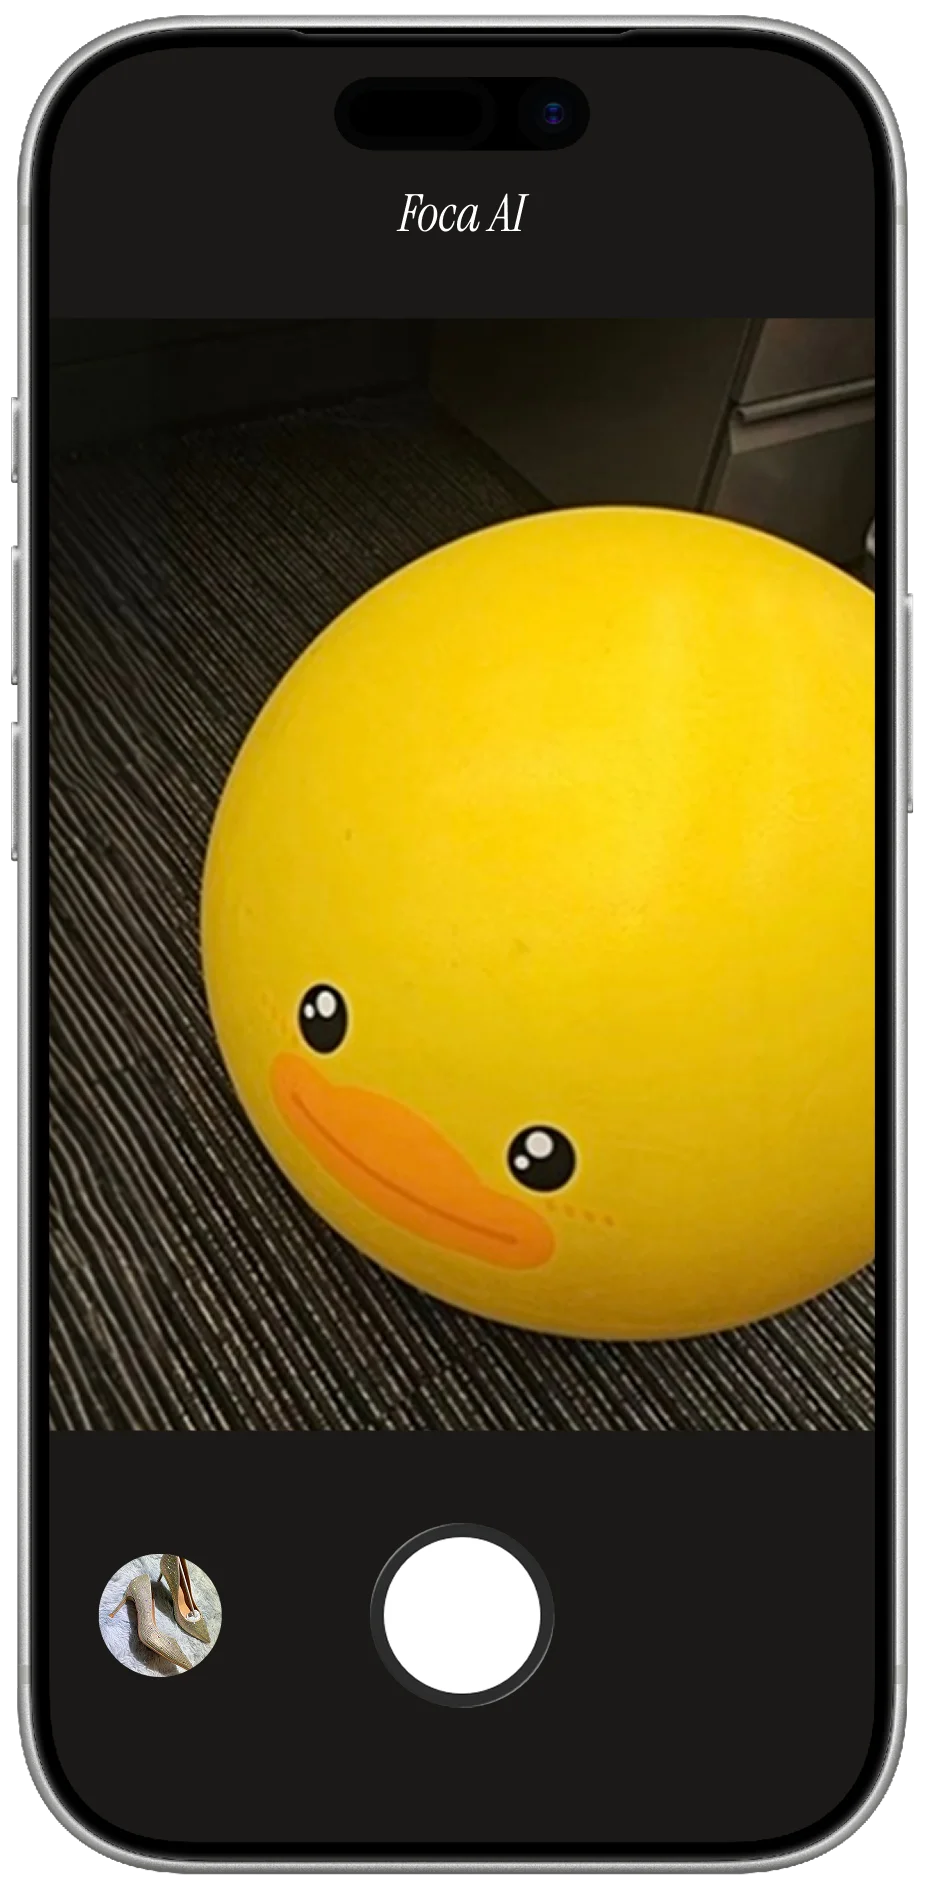
AI is most useful when your source photo is clear but the presentation looks amateur. Maybe the background is messy, the white poster board looks grey, the crop is inconsistent, or the product needs a cleaner shadow.
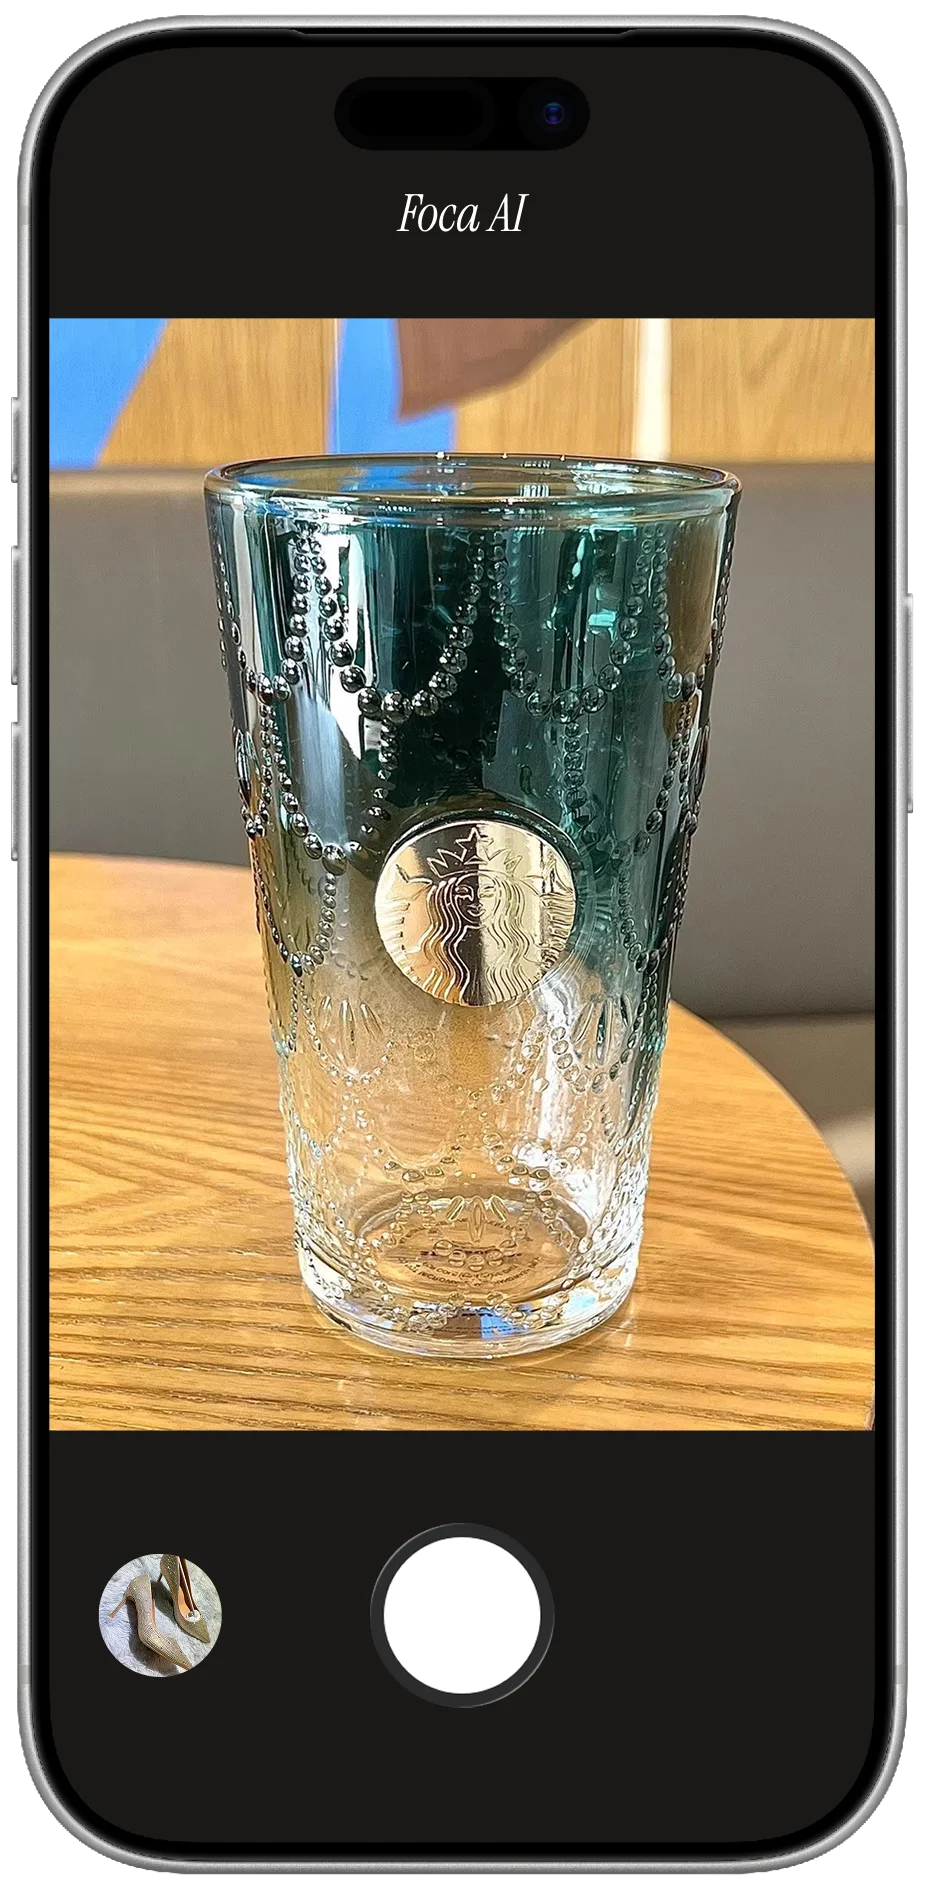
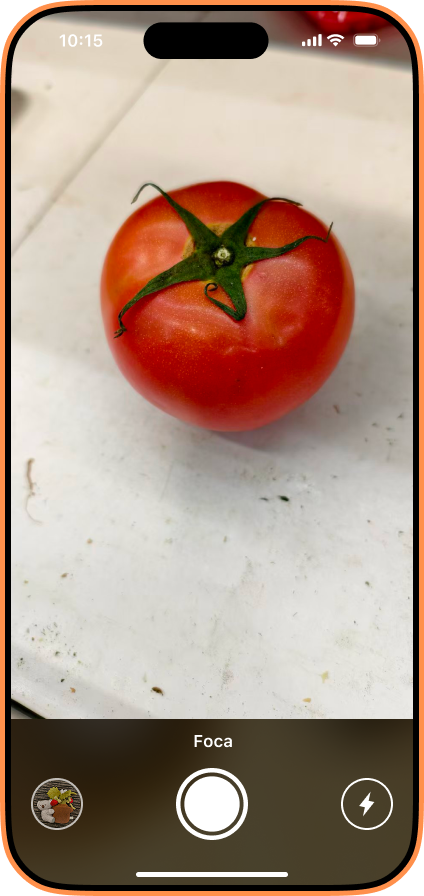
This is where Foca AI fits the budget workflow. Shoot the real product with your phone, then use AI to remove the background, center the item, create a clean white-background image, and add the kind of soft grounding that makes a product feel less like a cutout.
The important rule: use AI to improve the photograph, not to invent the product. Do not change color, shape, included accessories, label text, or the condition of a used item.
What not to save money on
Some shortcuts cost more later through returns, rejected listings, or low trust. Spend attention here even if you spend no money.
- Color accuracy: if the product arrives a different color than the photo, buyers will blame you.
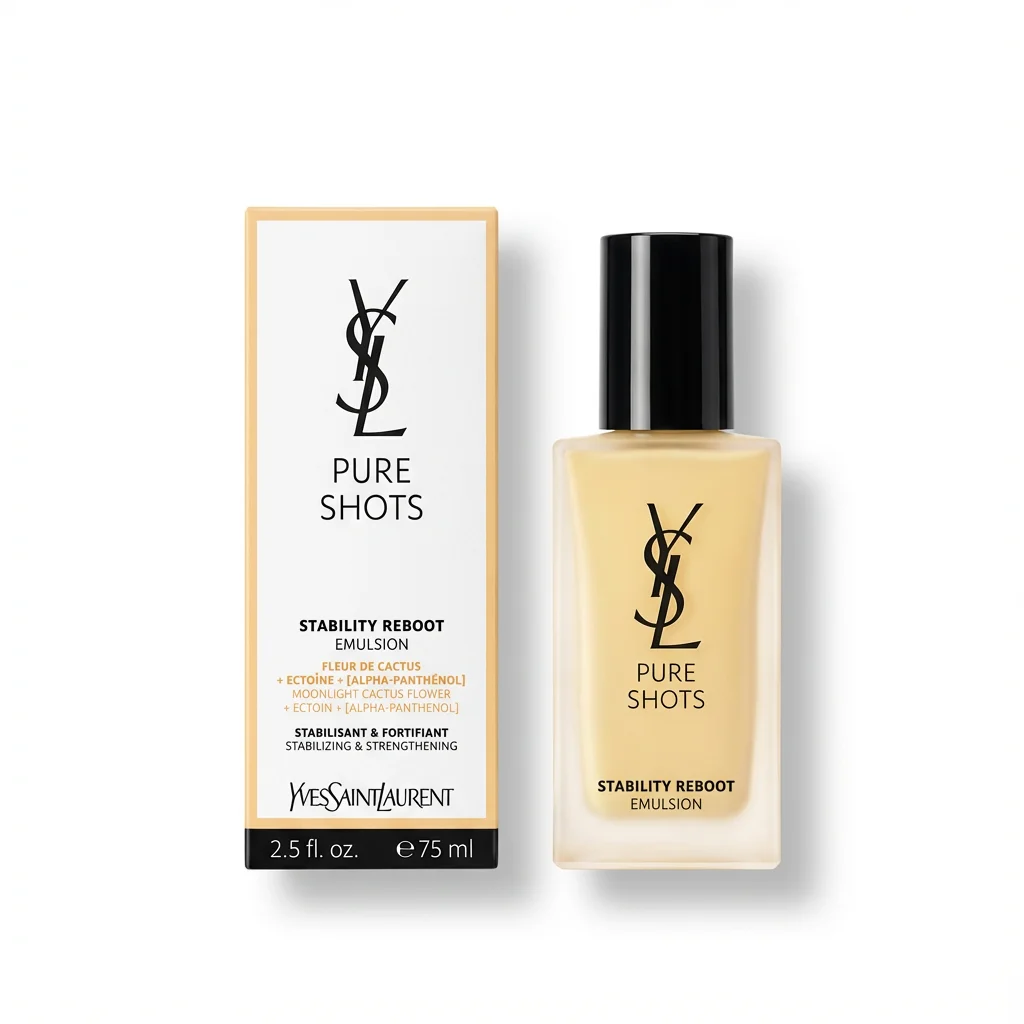
- Label readability: skincare, supplements, food, electronics, and tools need visible identifying details.
- Used-item condition: do not erase scratches, stains, wear, or dents that a buyer needs to know about.
- Marketplace rules: main images often need clean backgrounds, no text overlays, no watermarks, and enough resolution for zoom.
A 30-minute batch workflow
The fastest way to improve is to stop treating each product like a separate photo project. Batch the work.
- Set up the window, white board, and backdrop once.
- Clean every product and group them by size or material.
- Shoot the hero, angle, detail, scale, and packaging shots for each item.
- Keep camera position and crop consistent across the batch.
- Send the best hero images through AI cleanup for white-background versions.
- Export square images for marketplace/catalog use and keep originals for future edits.
Upload-ready checklist
- The product is sharp, centered, and not cut off.
- The main image has no text, badge, border, or watermark.
- The image is large enough for platform zoom and clean enough for thumbnails.
- The color, label, quantity, and accessories match the real item.
- Secondary images answer size, texture, packaging, and use-case questions.
Not sure a shot passes? Run it through the free Amazon Image Checker to confirm the white background, size, and resolution before you upload.
You do not need a $3,000 shoot
Start with a window, a white board, a stable phone, and a repeatable shot list. Use AI where it saves time: background cleanup, white-background hero images, crop consistency, and soft shadows.
The goal is not to become a professional photographer. The goal is to make the product clear enough, trustworthy enough, and consistent enough that a buyer can say yes.