Why tools are harder to photograph than they look
Hardware sells on precision — edge sharpness, metal finish, exact geometry — and a phone shot on a workbench buries all of it. Two things go wrong consistently.
Metal reflects everything. Chrome and polished steel bounce back the ceiling, the window, the photographer, and whatever is on the bench. The result is a scattered mess of blown-out highlights and deep shadows where the tool profile should be. Even matte finishes develop hotspots under the wrong light. The fix requires diffusing everything — wrapping the product in soft, even light from all sides.
Size and scale vanish. A wrench could be four inches or fourteen. A white-background shot gives buyers no reference at all, which is why secondary images with a hand, a ruler, or an explicit size callout are more important for tools than almost any other category.
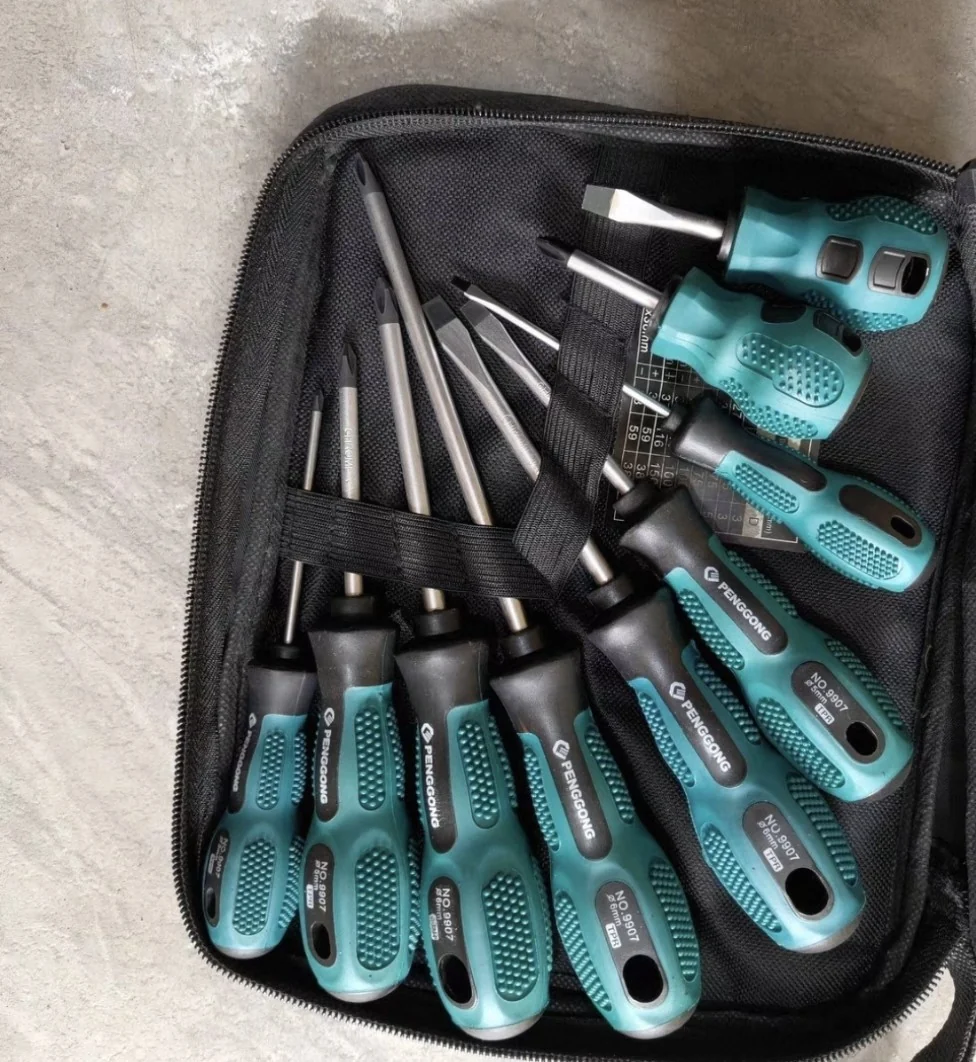
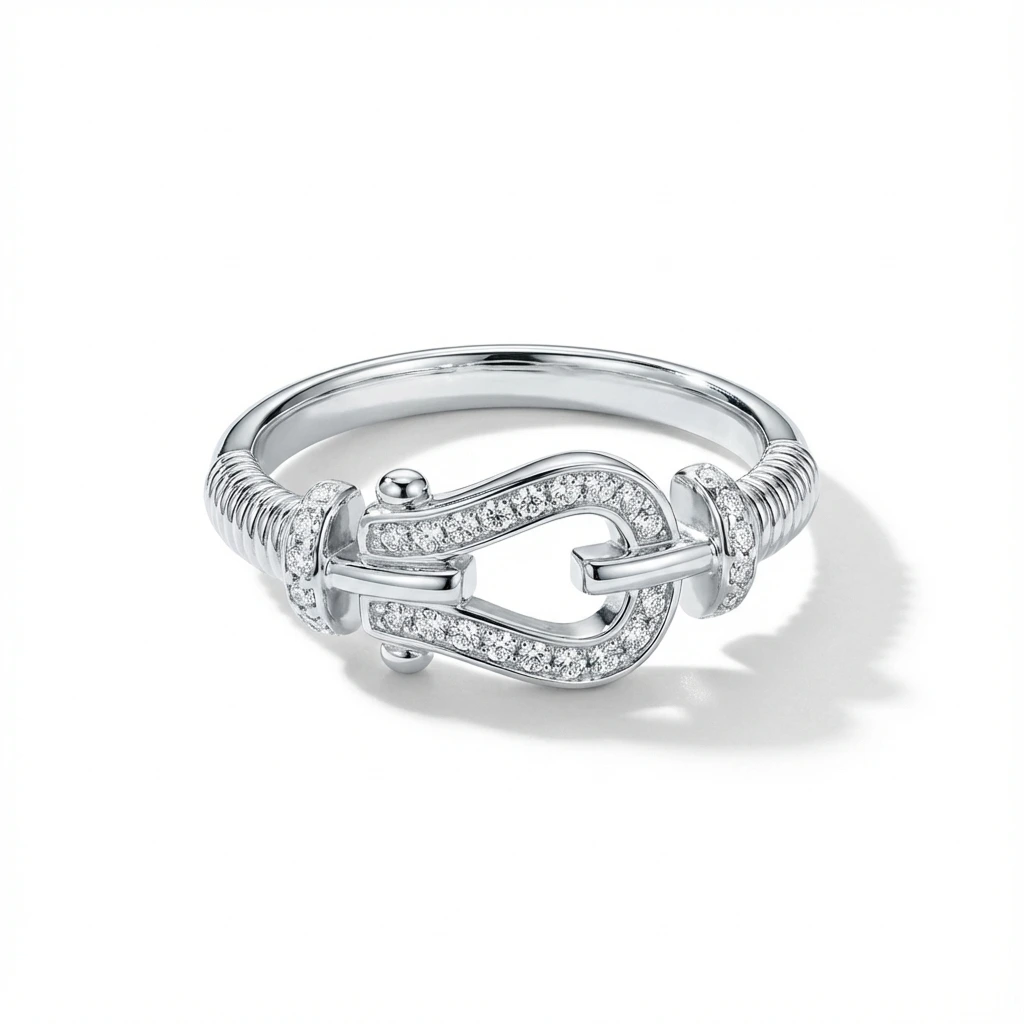
PHONE SHOT
- Concrete floor and pouch edges make the set look like a casual snapshot
- Uneven shadows hide tips, handles, and the exact set layout
- Background clutter fails marketplace main-image rules
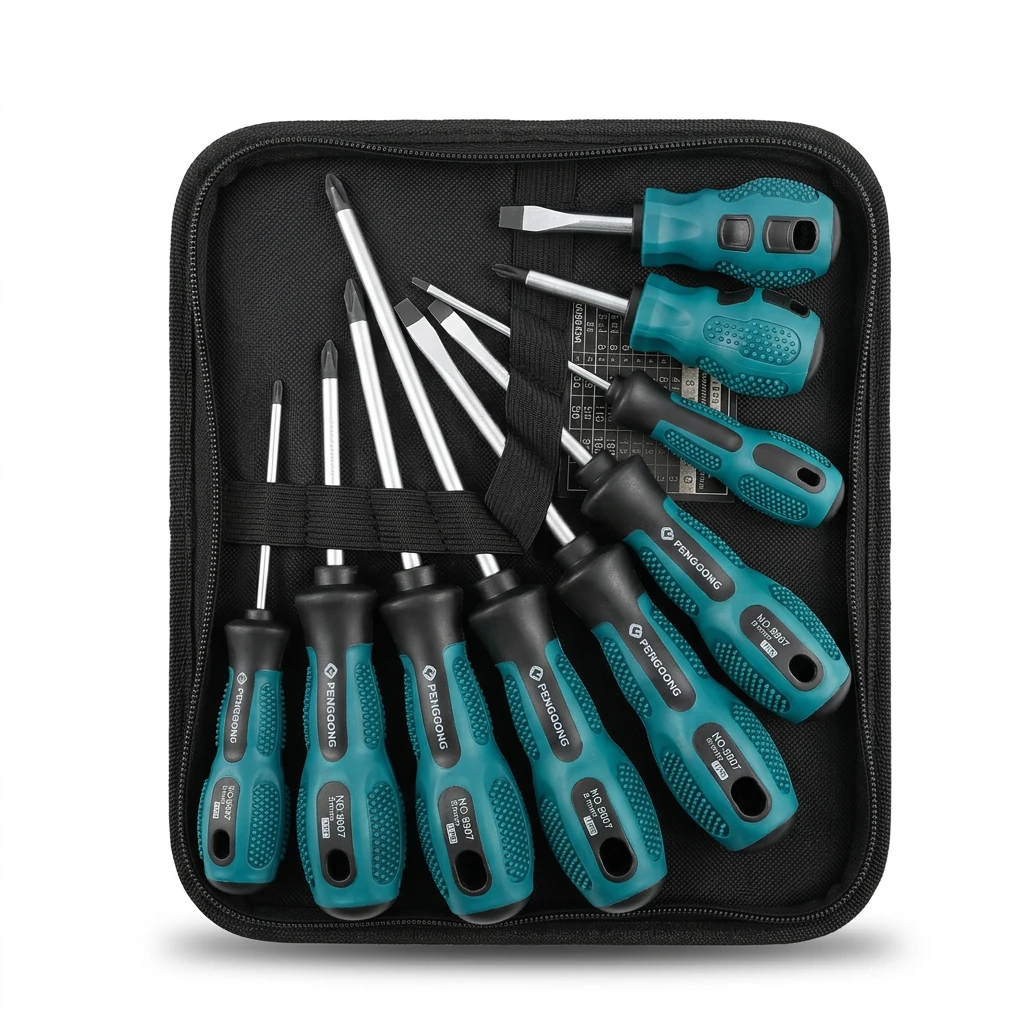
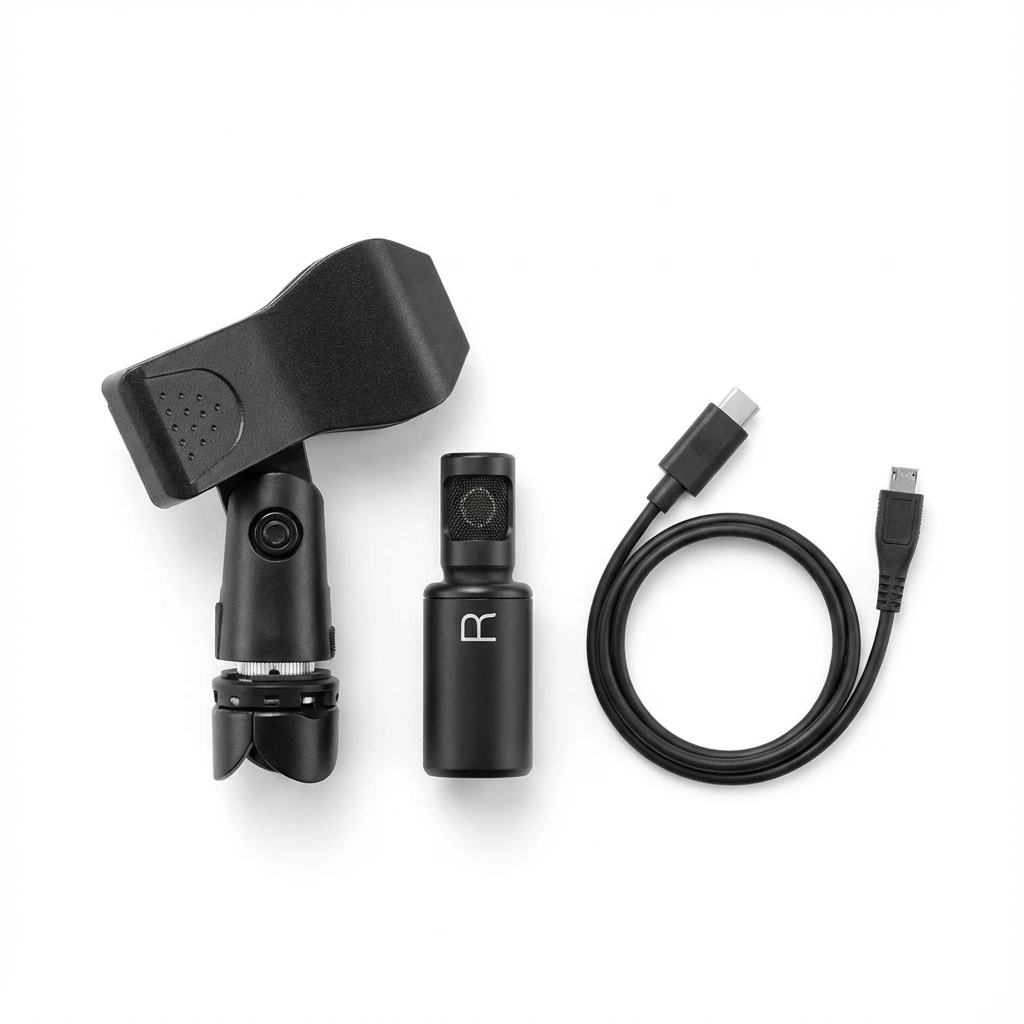
FOCA AI
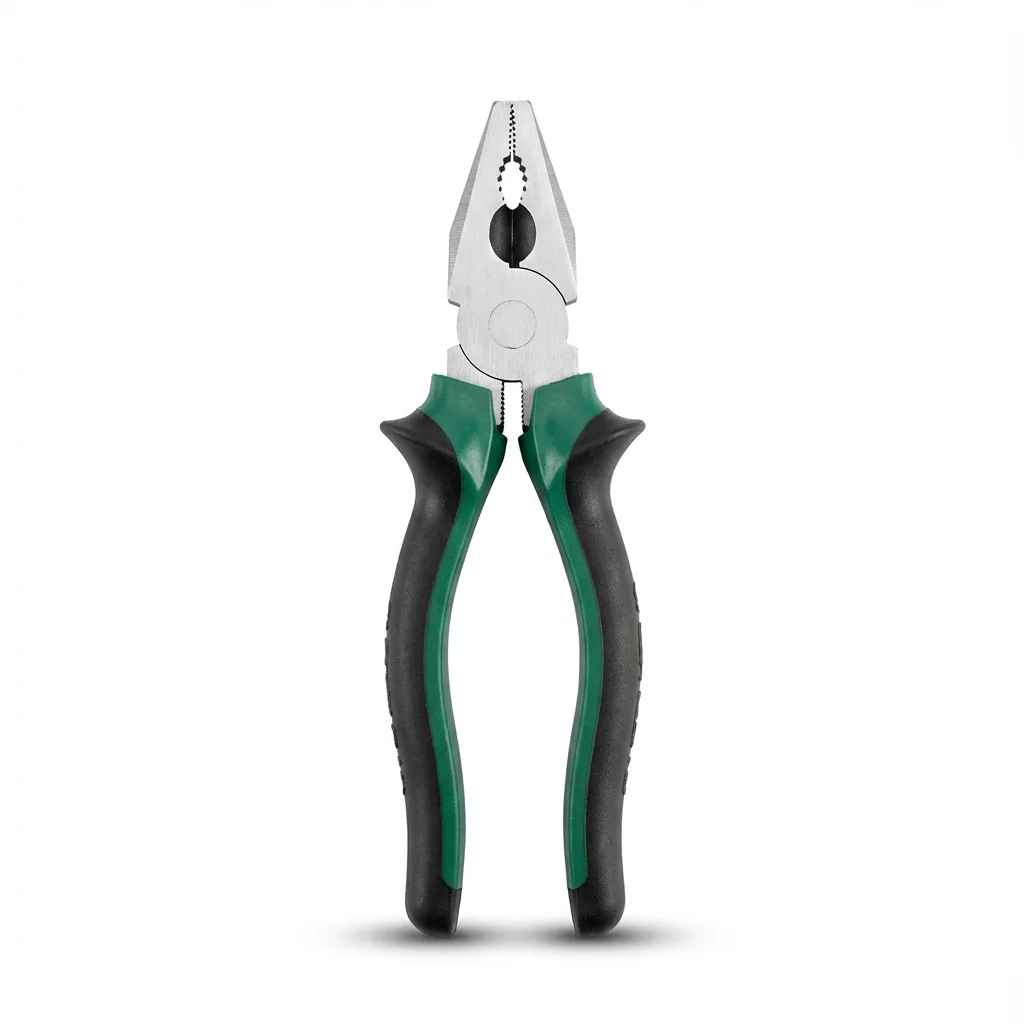
- Pure RGB 255 white, the full kit centered and listing-ready
- Metal tips, teal grips, and black pouch all stay separated and readable
- Every screwdriver and bit is visible so buyers understand the set
Lighting by metal finish
Chrome and bright steel: The standard approach is total diffusion — a light tent, or two large white diffusers on either side. Chrome mirrors its surroundings, so the goal is to make everything around it a uniform soft white. A single hard source creates one hotspot and dark voids everywhere else.
Matte and black-oxide tools: More forgiving than chrome. A single side light from a diffuse source gives good edge definition and shows the coating texture without blowout. You can push the directional light harder than you can with chrome.
Mixed-finish tools (rubber grip + chrome head, painted body + bare blade): Expose for the brightest element, usually the chrome or bare metal, and let the matte sections fall naturally. A rubber grip that goes to pure black in a photo reads as cheap — keep it within a stop or two of the metal.
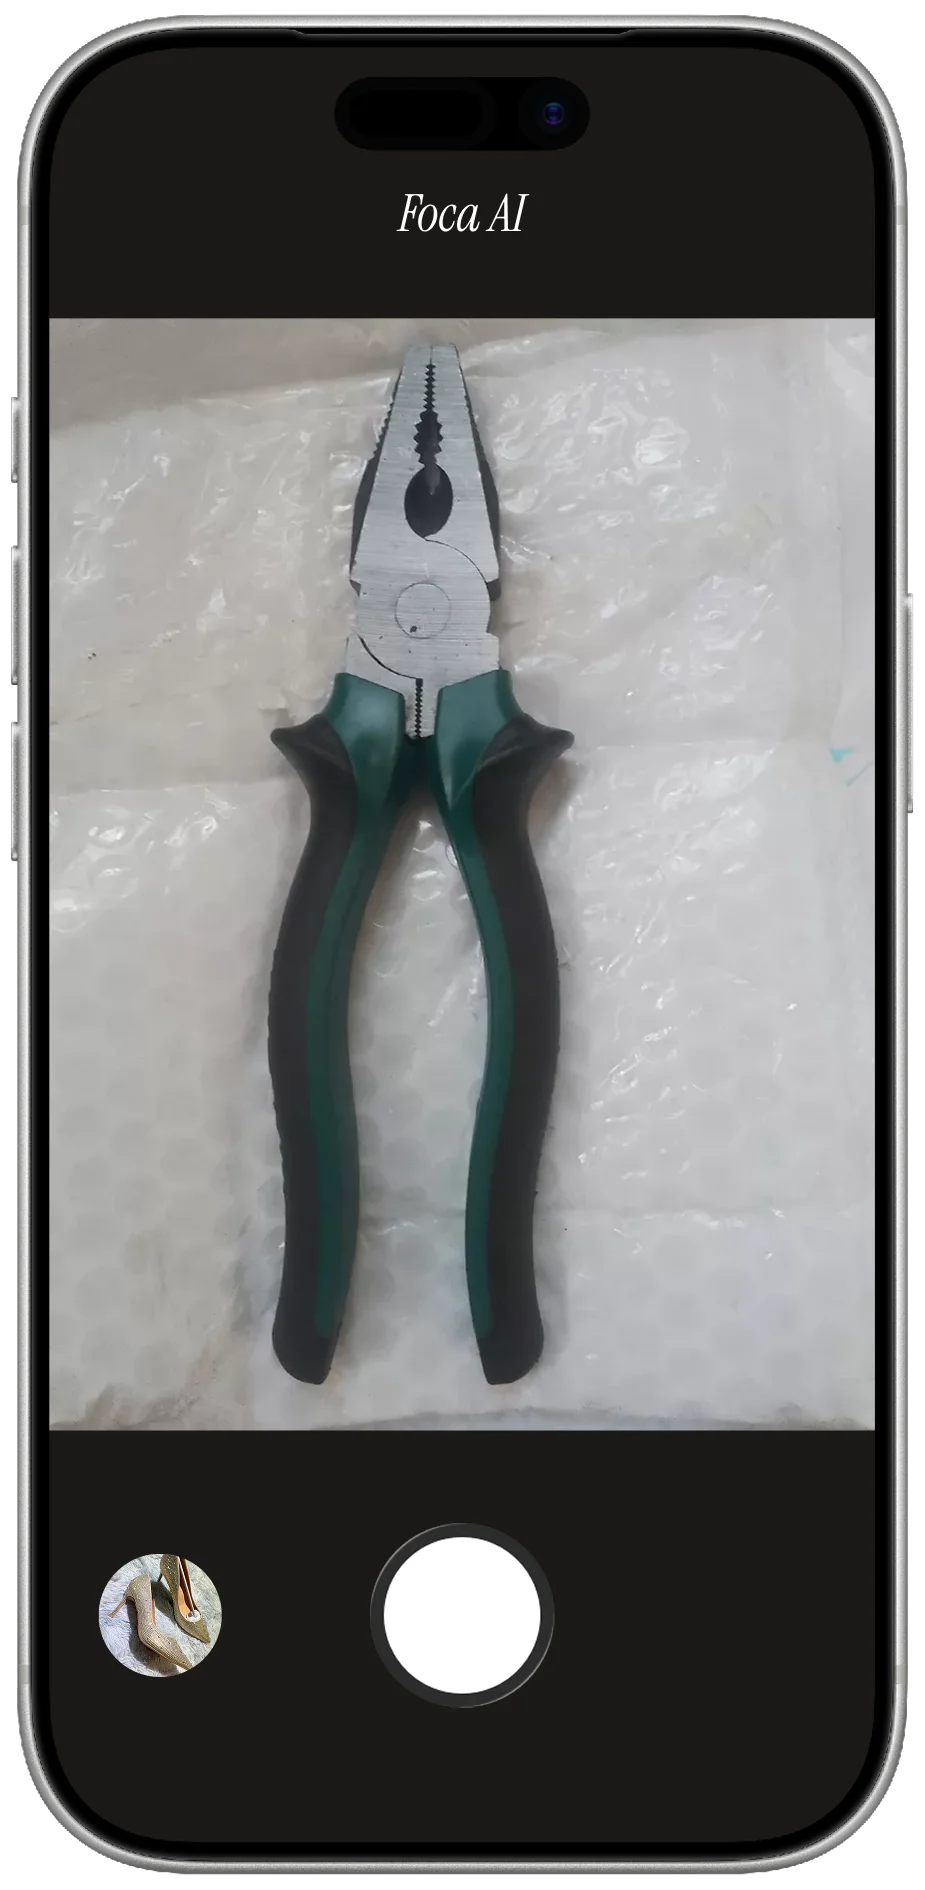
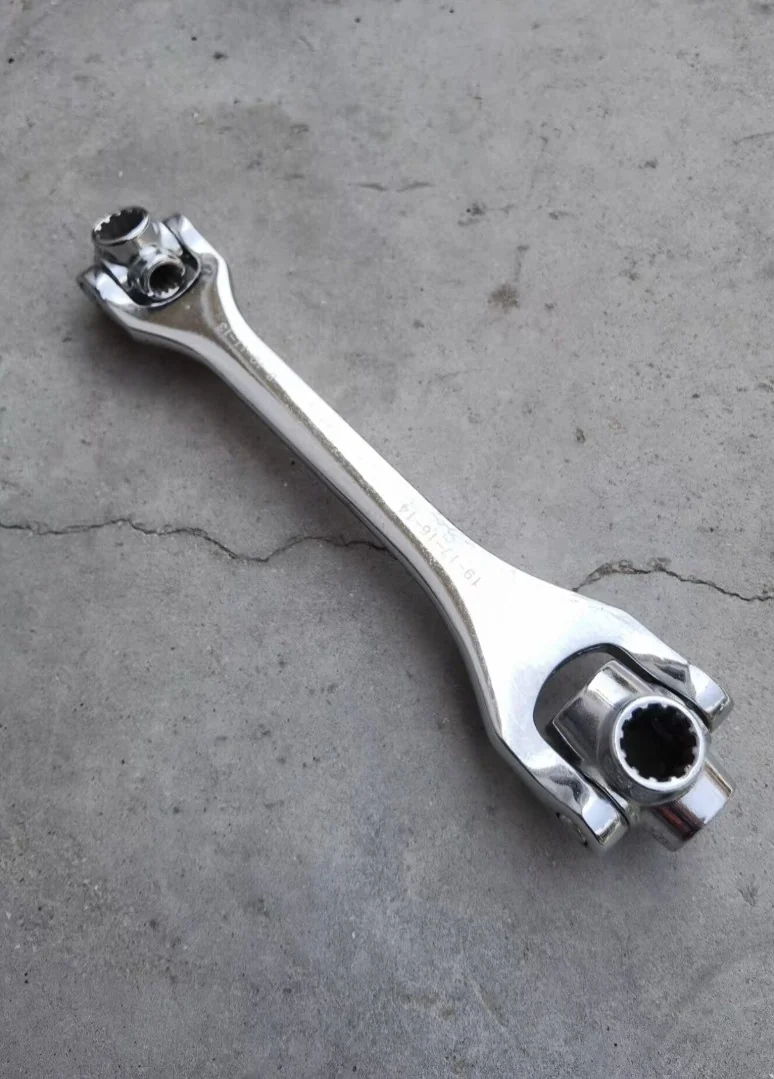 PHONE SHOT
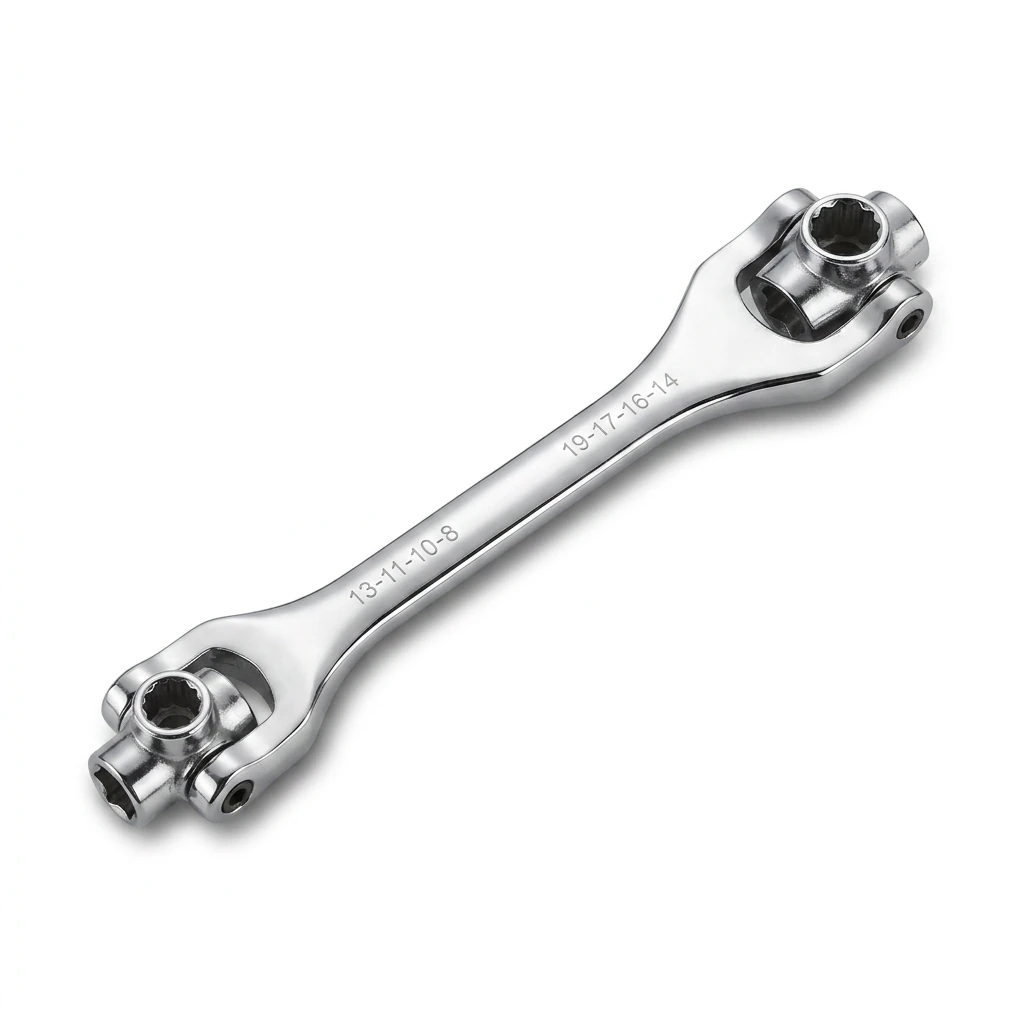 FOCA AI
Angle and composition
A slight overhead angle (looking down at roughly 30°) works for most hand tools — you see the full length and profile together. Dead overhead (flat lay) is best for sets and flat items like files and chisels. Straight front-on works for power tools with a visible face.
The key rule: the length of the tool should fill the frame. A wrench shot square-center with equal padding looks professional. Dead-center and small looks like a low-effort stock image. Orient the tool diagonally if its length needs to fill a square frame.
For sets (socket sets, Allen keys, screwdrivers), arrange all pieces in a clean fan or ordered row rather than a loose pile. Every piece should be visible and evenly spaced.
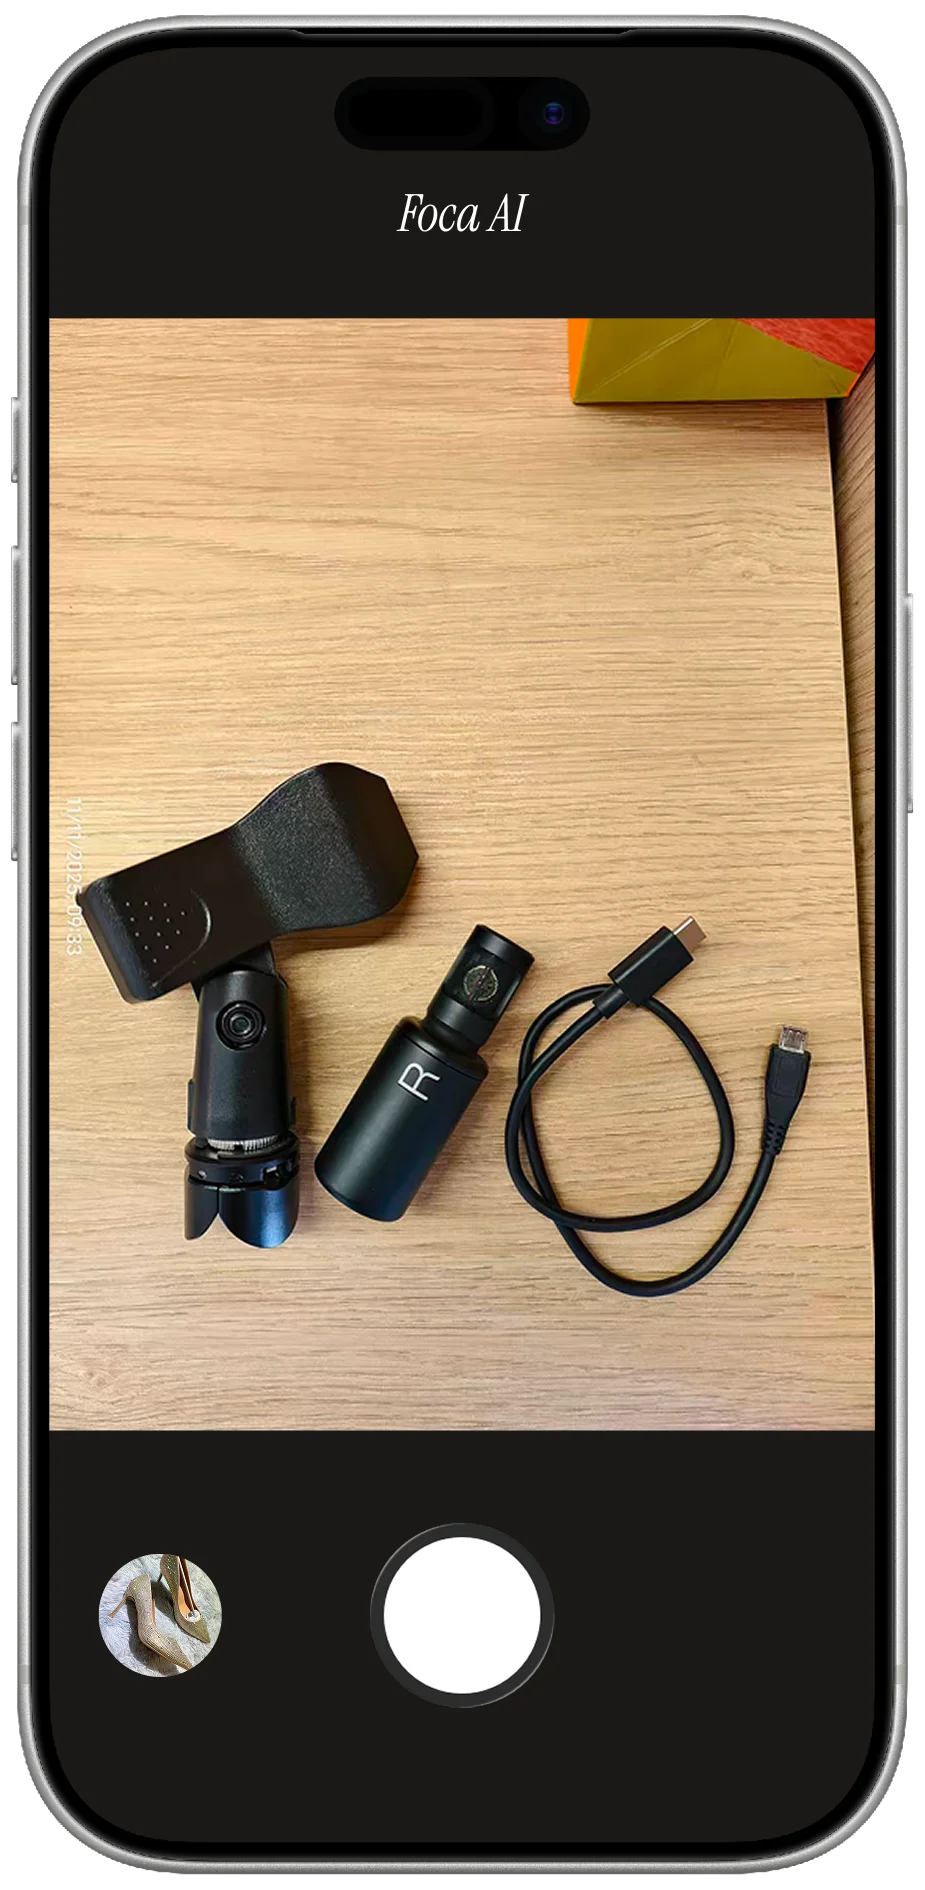
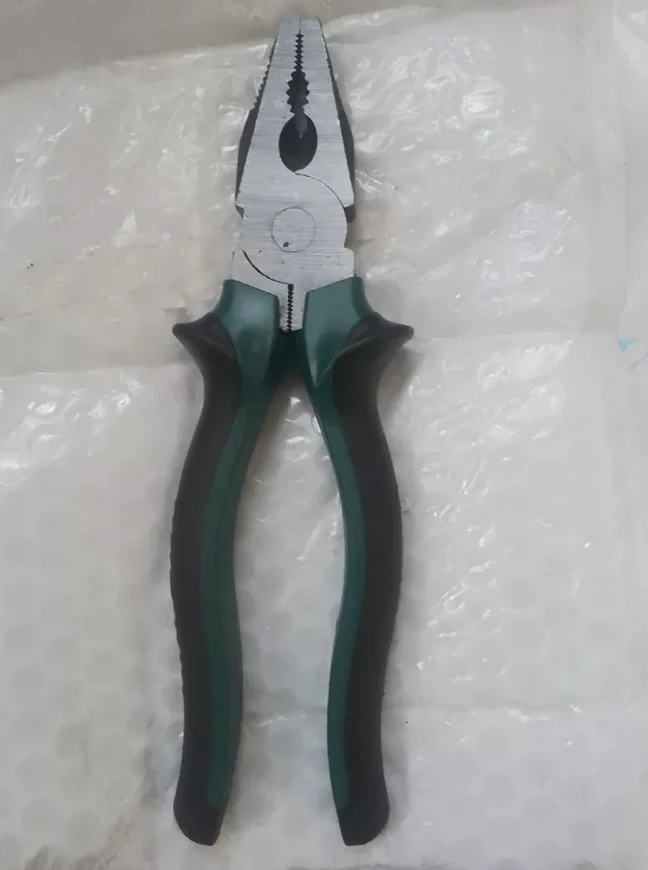 PHONE SHOT
 FOCA AI