Why footwear is one of the hardest things to shoot
Three things go wrong. Shape: a shoe has a sculpted silhouette, and shot flat or dead-on it collapses into a blob — the profile is what sells it. Material: leather grain, suede nap and knit mesh only show under the right light; flat front light makes everything look like cheap plastic. Color & shine: a warm phone white balance shifts the shade, and bare light blows a glossy or patent toe into a white blob. Get the angle and the light right and a $20 shoe looks like a brand; get them wrong and the opposite.
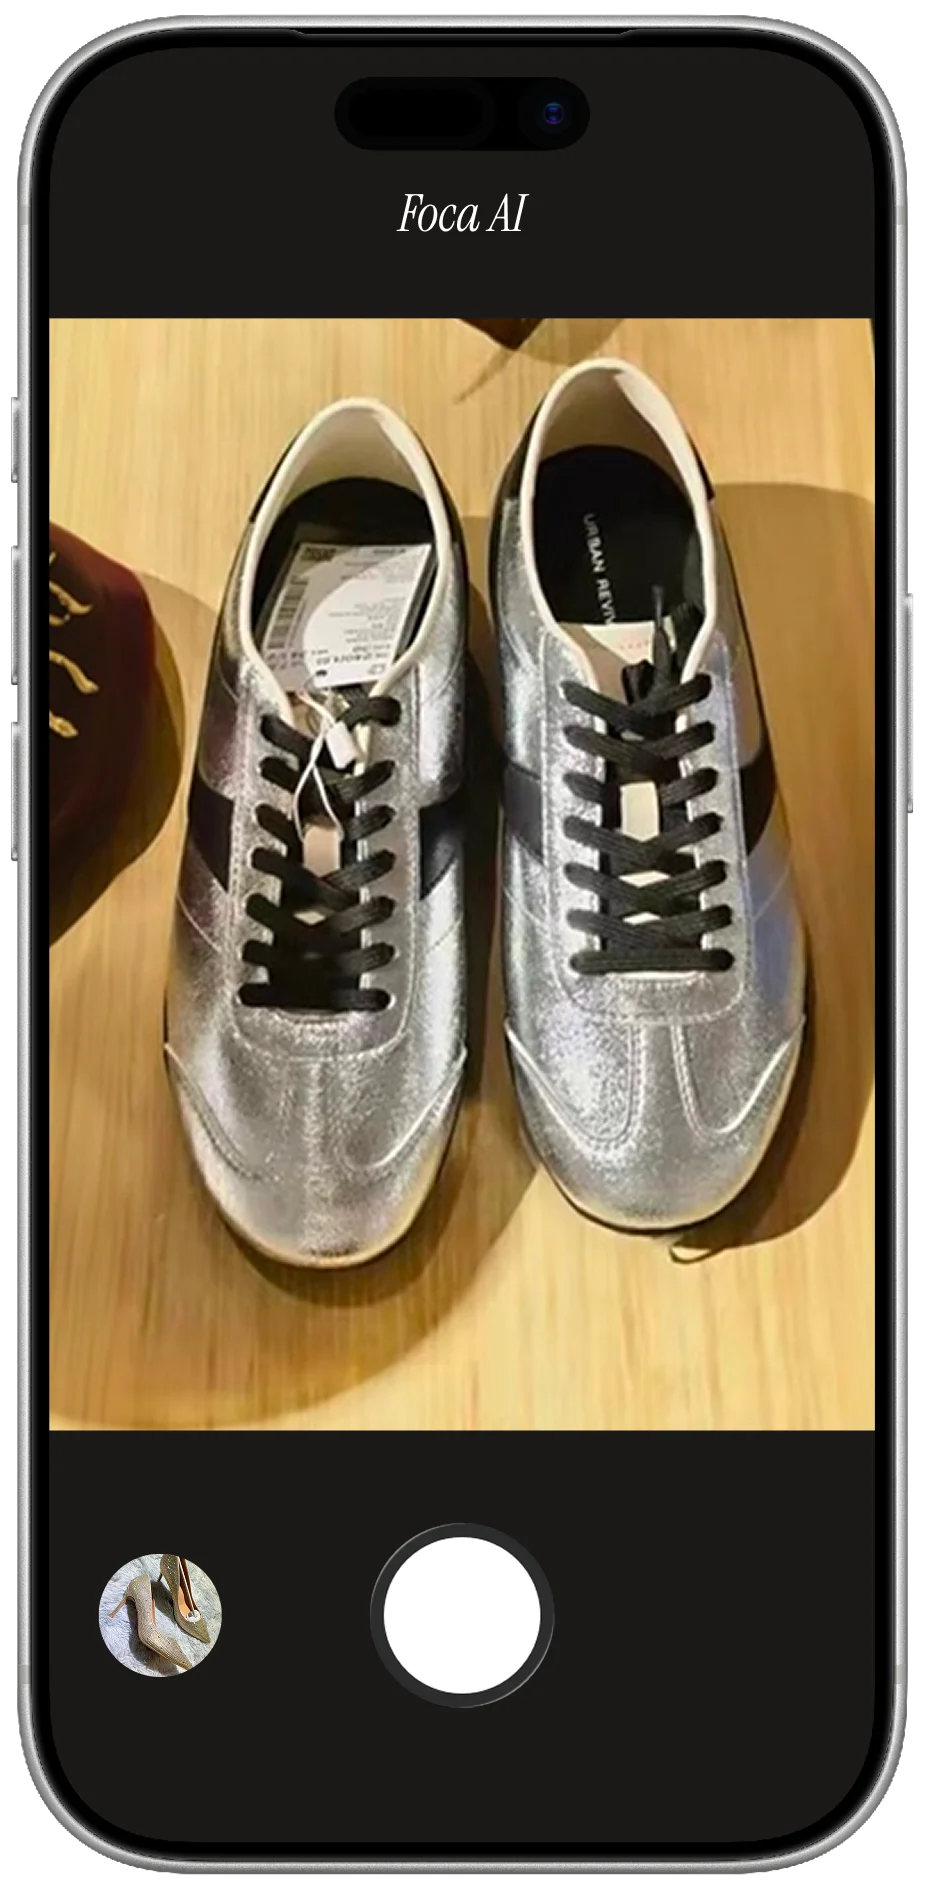
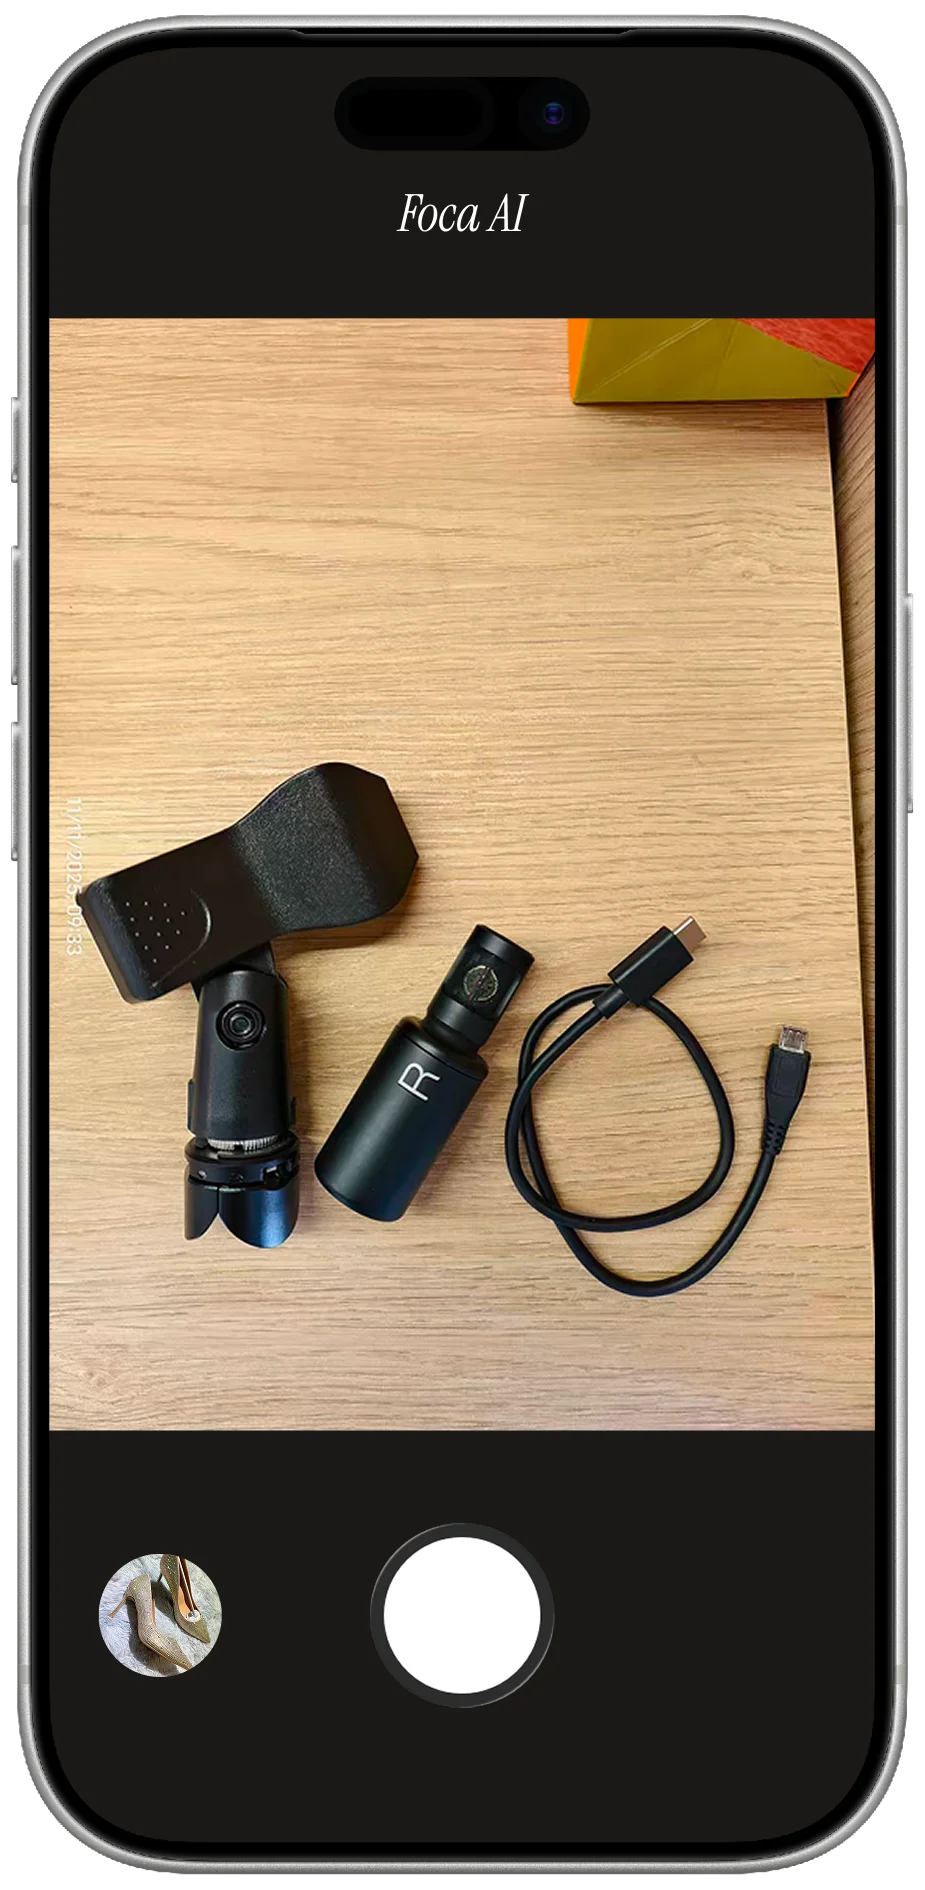
PHONE SHOT
- Shot on a soft surface — no white background, fails Amazon's main-image rule
- Warm room light shifts the color away from the real shade
- Flat angle and dull light hide the shape and the material
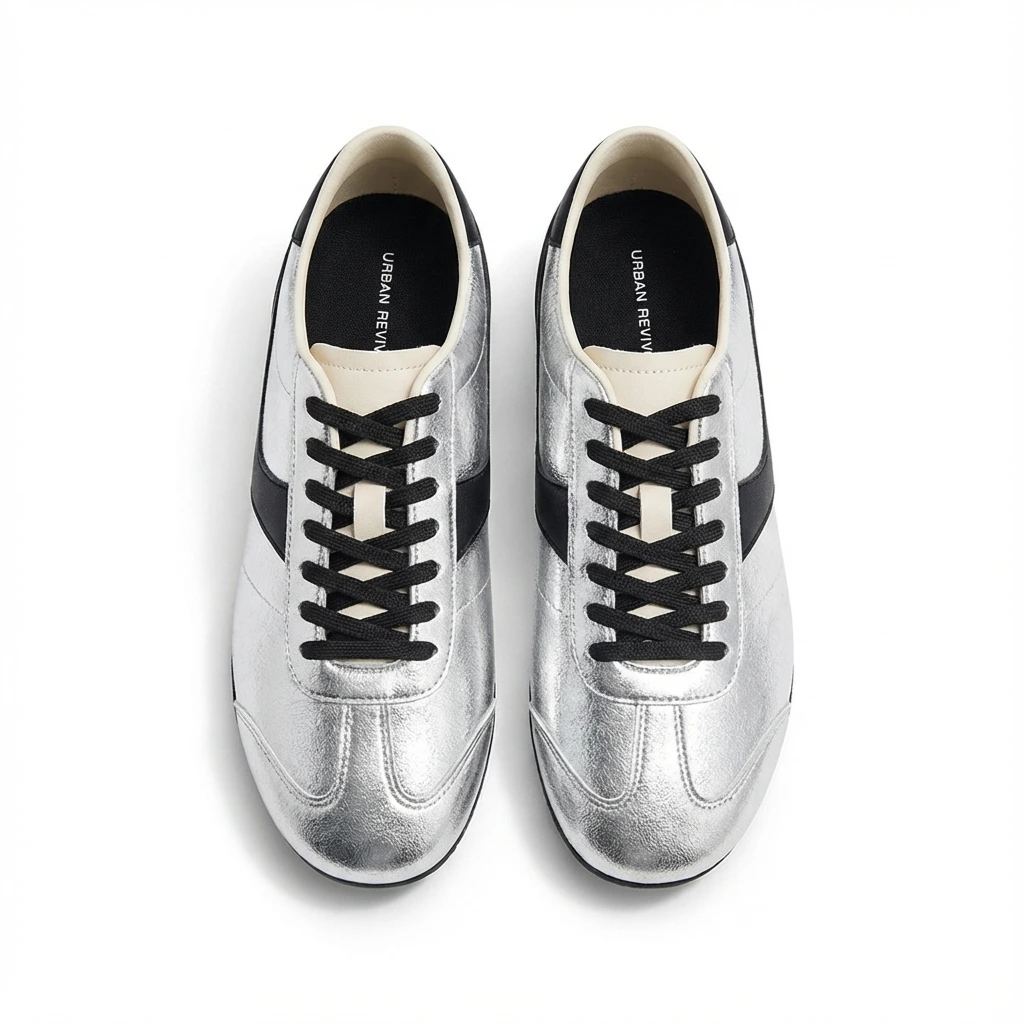
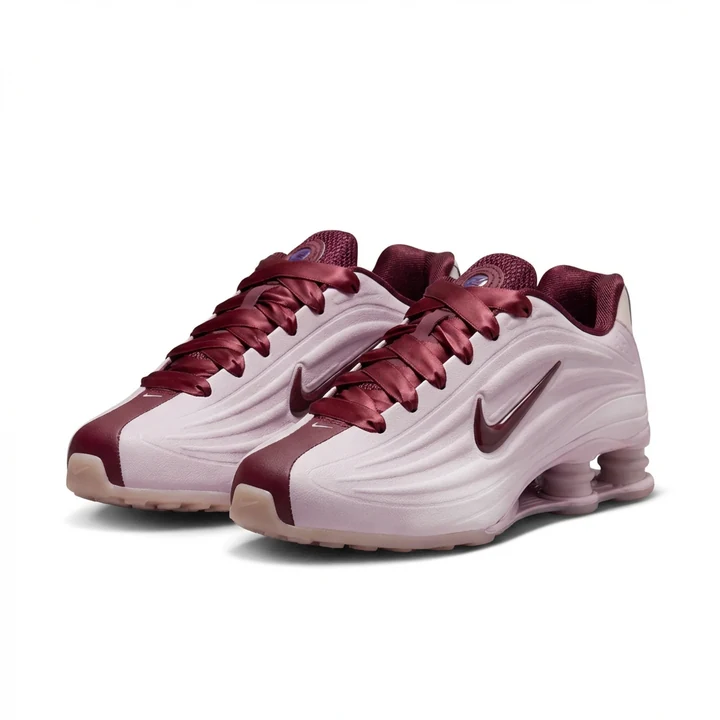
FOCA AI
- Pure RGB 255 white, shoe centered and filling the frame — listing-ready
- Color corrected to the real shade, with the material reading true
- Clean edges and a soft shadow so it sits, not floats
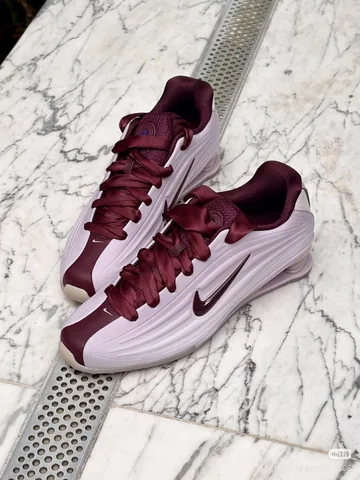
The hero angle
The standard footwear hero is a three-quarter view of the outer side, shot at shoe height (camera low, not looking down). It shows the toe, the profile and the silhouette in one frame. Use a single shoe for the main image so it fills the frame — keep the pair, the sole, the heel and the back for secondary shots. Prop the shoe so it stands naturally (a bit of tissue or a small stand hidden behind), point the toe slightly away from the camera, and make sure laces and straps are arranged, not flopping.
 PHONE SHOT
 FOCA AI
Material & light
Rake the light in from one side to bring out texture — leather grain and suede nap come alive at a low angle and die under flat front light. Diffuse it (window with a sheer, or a bounced LED) so glossy and patent finishes get a soft, rolling highlight instead of a hard hotspot. For mesh and knit sneakers, slightly stronger side light shows the weave. Keep the background and floor neutral so nothing tints the shoe, then clean to white afterward.
The honest math: when DIY stops being worth it
One shoe, done right — prop, angle, light, then mask, color-correct and clean the floor — adds up fast. Footwear lives on variants: the same model in six colorways and a full size run is dozens of near-identical shots, and matching color across all of them by eye is where the day goes. At that scale, shooting and editing each by hand stops paying off — which is why most footwear sellers outsource the white-background hero.
Quick fixes by shoe type
- Sneakers: three-quarter at shoe height, laces arranged; side light to show the mesh and midsole detail.
- Heels: profile that shows the heel height and arch; prop so it stands and the line reads clean.
- Boots: full height without cropping the shaft; stuff the leg so it stands up straight instead of slumping.
- Sandals & flats: a slight high angle shows the footbed and straps; flat-on hides what they're buying.
- Leather & suede: low side light for grain and nap; lint-roll suede first — fuzz and scuffs read as "used".
- Patent & metallic: diffuse hard and shoot a hair off-axis to keep the shine without a blowout or a mirror of the room.